起因
本博客主题cactus没有图片放大功能,在看教程图片时往往会出现文字太小而看不清楚的状况。经搜索,发现 fancybox 这一插件,效果良好。
安装
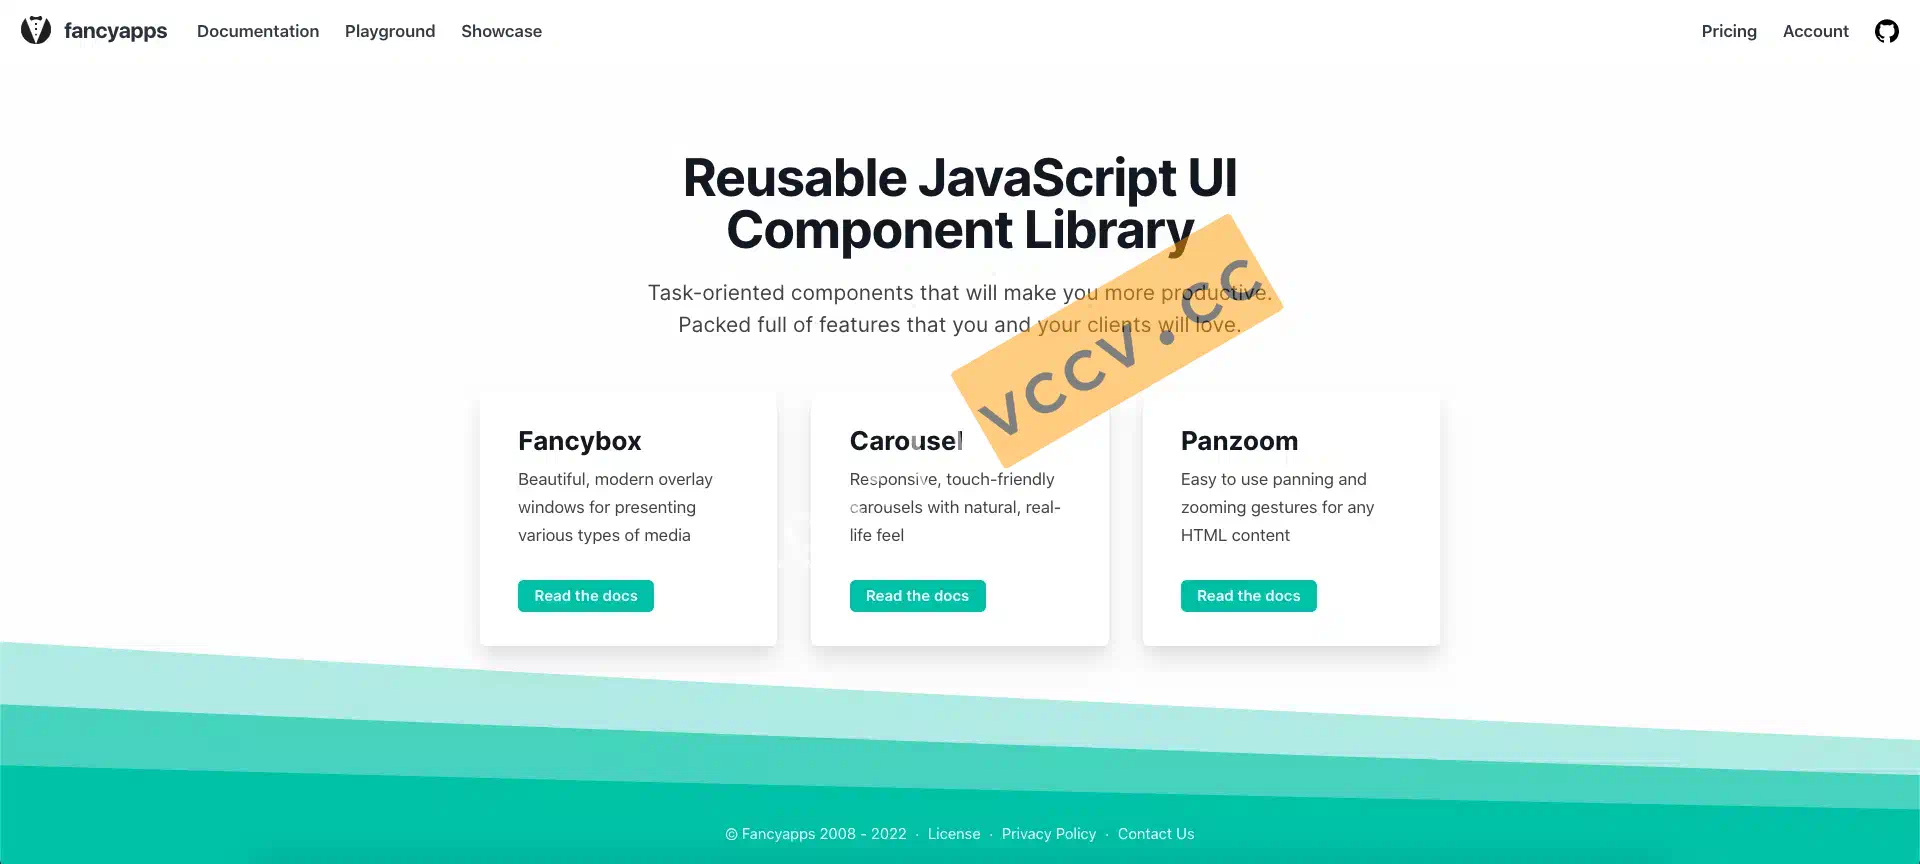
下图为fancyapps的官网,可以看到除了fancybox还有其他的Javascript UI库。
引入文件
点击进入fancybox的文档 ,在 Installation 部分看到我们可以通过npm安装以及直接CDN引入等方式。由于是博客网站,我直接选择CDN引入。
You can also use standalone UMD build by downloading the files or using directly from the CDN on your page:
在 hexo文件夹/themes/cactus/layout/_partial/head.ejs 文件中,我们在head标签的最后添加代码引入css文件:
| |
在同级目录下的 scripts.ejs 文件中,我们直接在最后一行添加代码引入js文件:
| |
可以发现我添加了条件判断,所以要在 主题的_config.yml 文件中添加:
| |
至于是否直接引入,全凭大家喜欢。
修改配置
继续看官方文档可以发现,我们只需要简单的在img标签 <img 外套上一层a标签 <a ,加上标签属性 data-fancybox data-src data-caption ,即可实现功能。
刚开始我打算直接引入js脚本修改,但是发现毫无作用。后来想想,或许hexo将markdown渲染成html的时刻在外部js脚本生效之后?我也没去深究缘由,如果有大佬懂这些,欢迎评论指点!
所以我决定试试能不能直接从渲染器下手。搜索得知,hexo默认渲染器是 hexo-renderer-marked ,在 hexo文件夹/node_modules/hexo-renderer-marked/lib/renderer.js 文件中,搜索关键词 img 找到相关代码修改如下:
| |
验证收尾
执行 hexo clean && hexo s 预览后发现显示正常,功能也有,问题解决了。
效果
来张图片看看效果。
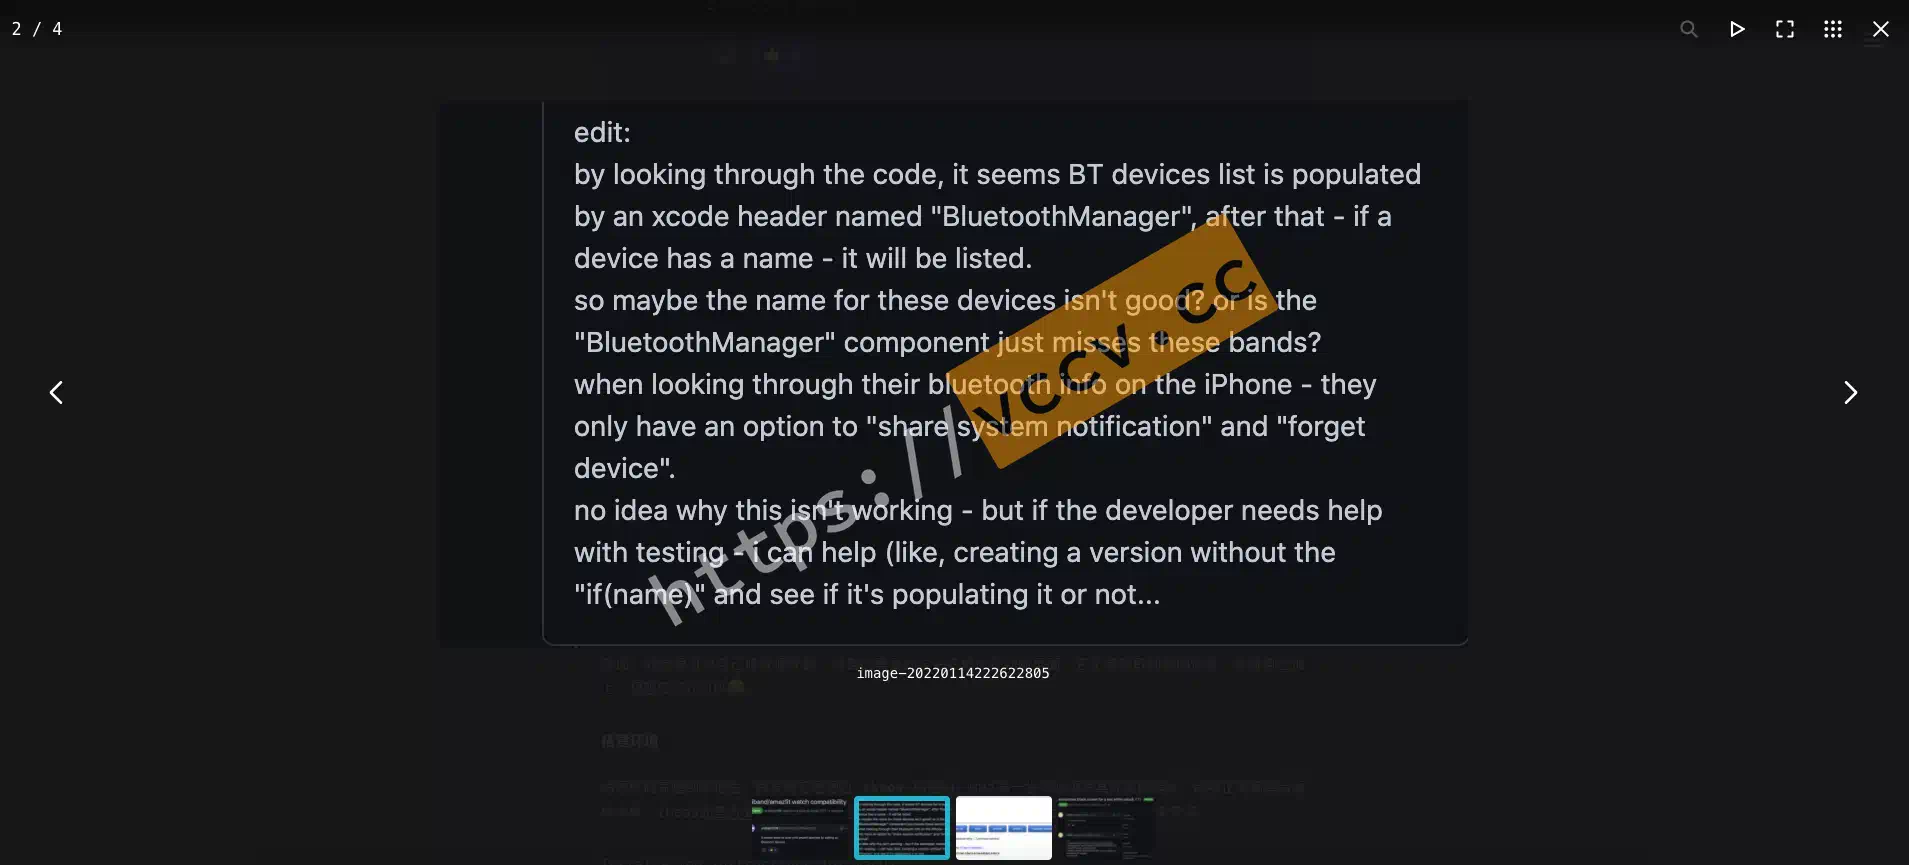
真不错,满足了哈哈哈。