Preface
My other post describes using Conda installing R kernel Notebook on a Linux remote server, but I’ve found that conda doesn’t handle various dependency conflicts very well, often resulting in installations that don’t I found that conda doesn’t handle dependency conflicts well, which often leads to unsuccessful installations.
Later, I also used brew to install it on my macOS system, and found that it was easier and faster, so I summarized the steps.
System: macOS Venture 13.1 (22C65)
Product: Intel Chip MacBook
Requirement
Install Homebrew.
Homebrew is the most used package manager on macOS, and this is its official installation tutorial. But usually, we just need to enter the following command while making sure the network is accessible:
| |
R
It is so easy to install r package with brew:
| |
Jupyter
Almost the same as before:
| |
R-Kernel
Use r to install IRkernel:
| |
Launch Notebook
| |
Click Create or New button and find that you can create r-kernel notebooks now.
Landscaping
This part is not necessary and is for record only.
| |
Postscript
I didn’t run into any snags with this installation, so if you run into any other issues, feel free to leave them in the comments section.
Update 1
When I repeated this tutorial on 2023.03.20, I found that the Nbextensions tag would not appear. Upon checking, this was caused by the plugin not being updated to adapt a new version of the dependency package nbclassic.
See the GitHub issue for details.
Solution: Downgrade the dependency package. We may update it later.
| |
Update 2
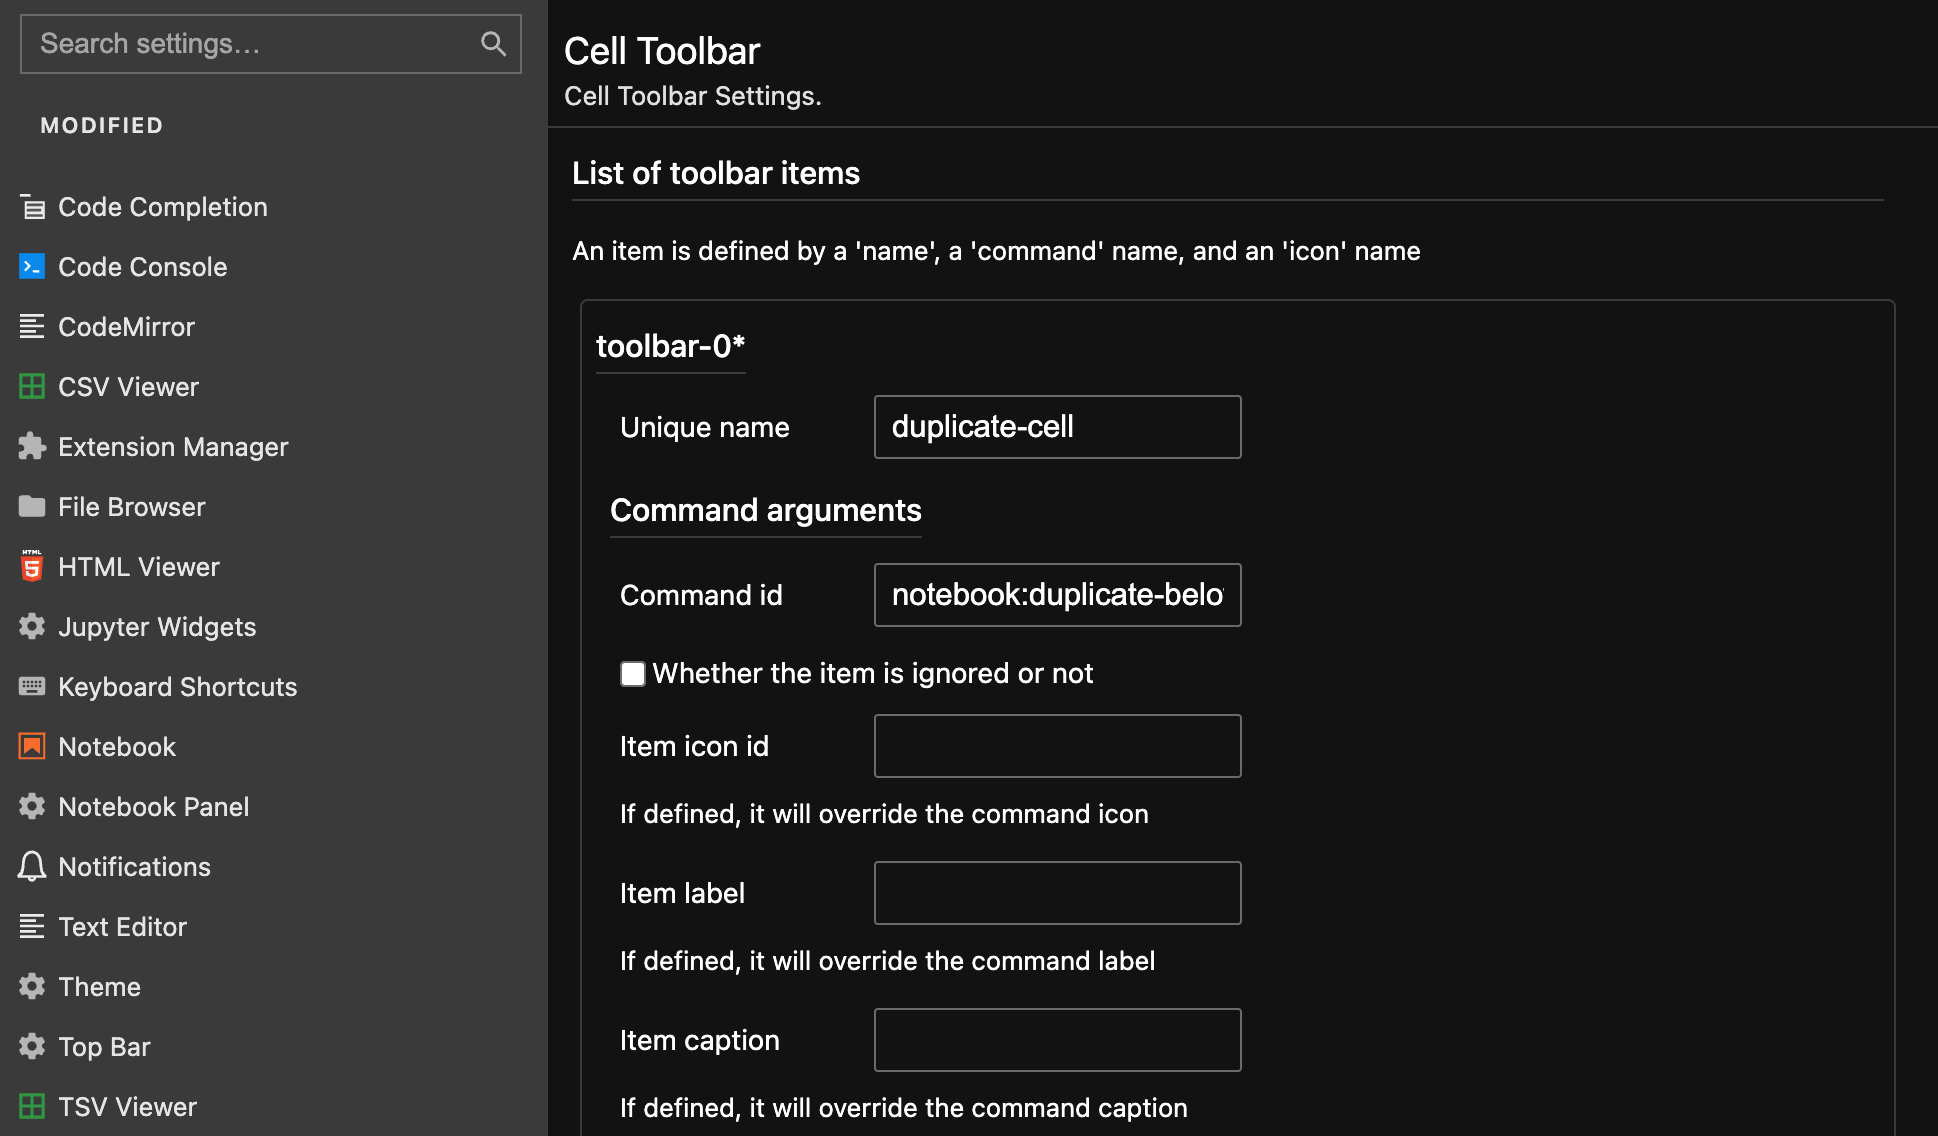
2024.03.15 Update: The notebook was officially upgraded to version 7.x a couple months back. I haven’t had to do any 3rd party manipulation with the new version. It can be changed directly inside the settings with a high degree of customization.
