If you're like me and don't like the "bloat" of the official docker client, or simply want to try new things and tinker with new methods, then you're welcome to read this post. Since the blogger is using macOS, this is only a record of exploration under Mac. If there are any errors of omission, please feel free to criticize and point them out in the comment section.
If you don’t like the “bloat” of the official docker client, like me, and just want a separate and pure docker service without a GUI, or just want to try new things and tinker with new methods, then you are welcome to read this article.
Since I am using macOS, there is only one exploration record under Mac. If there are any omissions and errors, please feel free to criticize and point them out in the comment section.
Computer environment for this article.
System:macOS Ventura 13.0.1 (22A400)
CPU:Intel Core i5(not sure if Apple M series processors are common)
Homebrew is the most used package manager under macOS platform, and this is its official installation tutorial
. But usually, we just need to enter the following command while making sure the network is open.
Installing the most basic docker service is also very simple and can be done with one command.
Remember not to use the brew install docker --cask command, this will install docker graphically on macOS!!!
1
brew install docker
Installing Colima with Homebrew.
Colima
takes its name from Container on Lima. Lima
is a virtual machine tool that enables automatic file sharing, port forwarding, and containerd.
Colima actually starts a virtual machine named colima through Lima. It helps us to simplify the usage process, but of course it is less customizable. If you are interested, you can of course use Lima to do the process manually yourself, which is more customizable, but more complex.
The installation is also very simple and is done with one command.
1
brew install colima
This should take much longer to download, which is normal. As you can see below, Colima has a lot of dependencies.
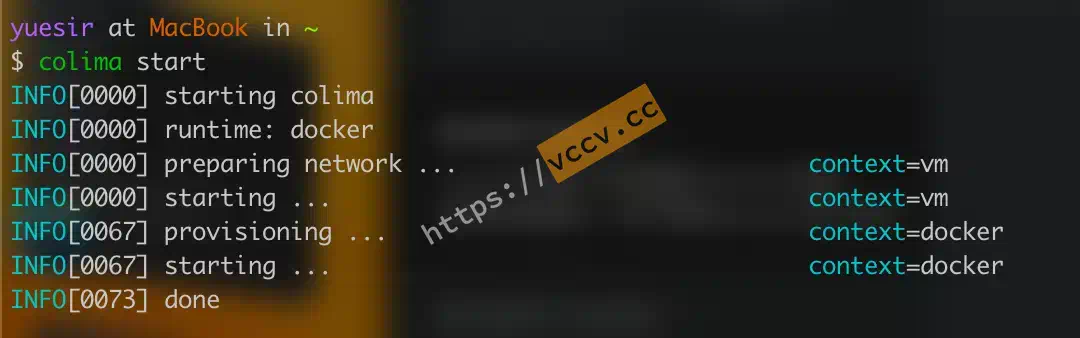
The official installation documentation describes that creating a docker runtime environment requires only the simplest command.
1
colima start
Perhaps this is also the reason why the author has optimized the process specifically for docker, which is why I recommend using colima, it’s simple enough.
Based on feedback from comments, colima already supports boot-up.
The method is also simple, since we installed colima using brew, we can just take over directly using brew service.
1
brew services start colima
If you are using other ways to install, make good use of search engines. Or follow the tip from comments by adding the -foreground parameter to set it up (untested).
1
colima start –foreground
Although Colima still doesn’t provide such a feature so far, it is in development
.
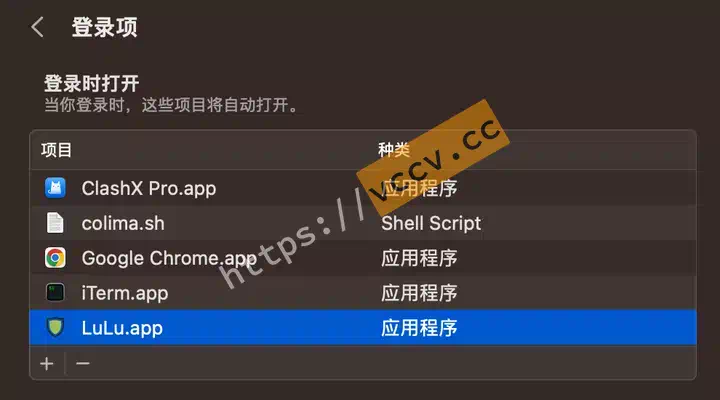
Alternatively, for simple single-container docker use, we can create our own shell scripts and set the startup entries to achieve the same effect.
To create the shell script.
1
2
touch colima.sh
chmod +x colima.sh
Modify the contents of the script.
1
vim colima.sh
1
2
# Just write the start command to colima.shcolima start
Add to the login entry.
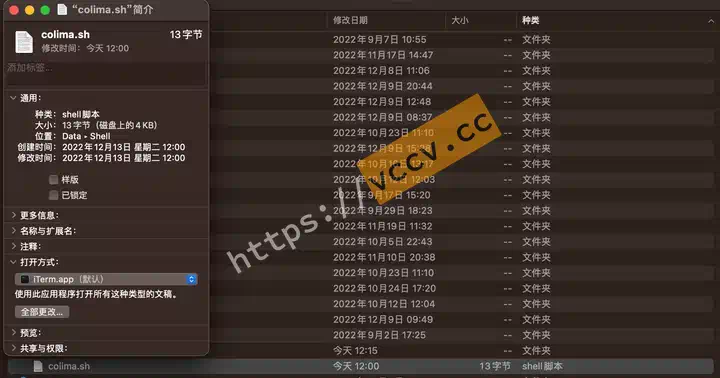
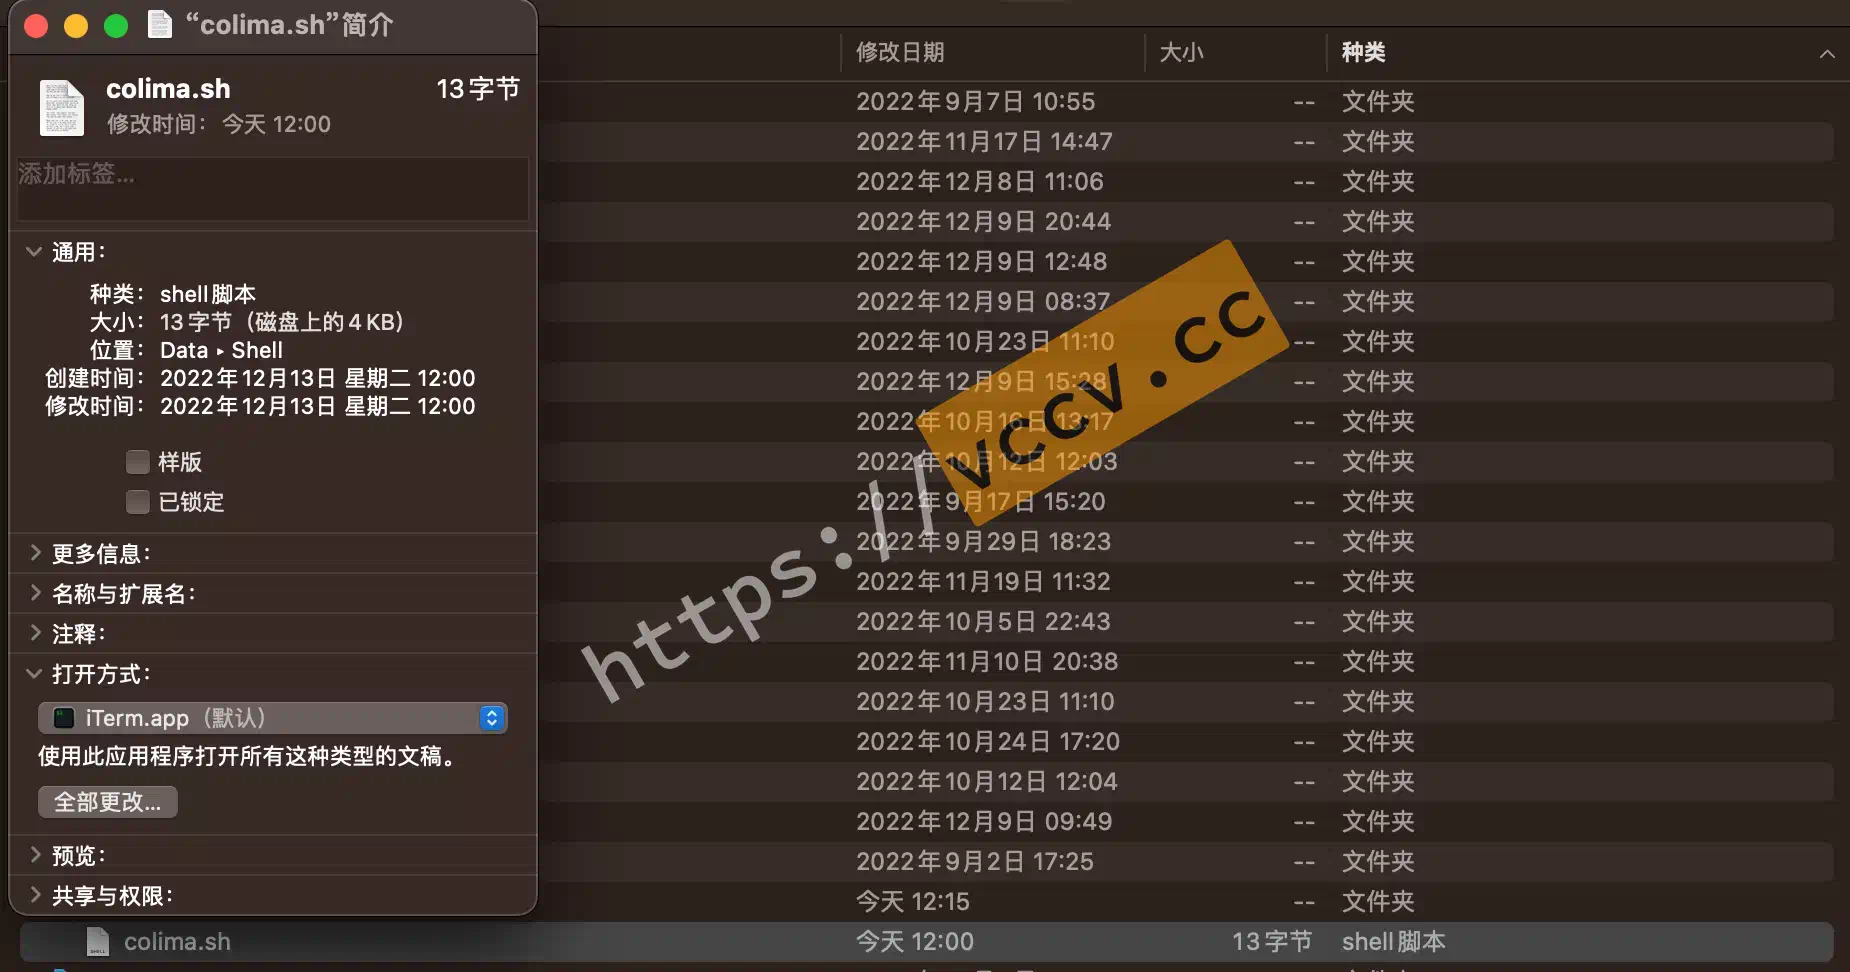
Set the default open method to your terminal program.
It’s that simple, and the docker service is up and running. Type docker ps -a and simply test to see if it runs successfully. If you still have errors, keep reading on.
The diagram indicates that the docker service is not running, which is a problem with the colima configuration. You can try to reinstall Colima or re-run colima start to check if it is resolved.
If you want to run multiple containers, you can make configuration changes to the containers created by Colima.
Colima’s default resource configuration is 2 CPU / 2 G memory, which may not be enough in some cases. For example, if you start three mysql instances with docker-compose, it will happen that at least one of them will not start properly.
In this case, you can change the default configuration with the -c and -m start parameters, or with colima start --edit.