Preface
Valid for the entire JetBrains family of buckets, including IDEA, PyCharm, GoLand, WebStorm, etc.
For personal use only!
Before the tutorial, if you have installed an older version, I recommend to uninstall and reinstall to start.
| IDE | Official Website Address |
|---|---|
| IDEA | https://www.jetbrains.com/idea/download/other.html |
| PyCharm | https://www.jetbrains.com/pycharm/download/other.html |
| GoLand | https://www.jetbrains.com/go/download/other.html |
| WebStorm | https://www.jetbrains.com/webstorm/download/other.html |
Update 3
Regardless of the software, it is recommended to use the latest version of 2021.3._. After testing, this version is the easiest to operate and the most stable.
After activation, please turn off automatic update checking in the settings (keyword: update).
2021.Version 2.3 and later
As of January 6, 2022, the latest version for Mac is 2021.3.1.
Starting with version 2021.2.3, the Jetbrains trial policy was updated: mandatory account login, trial period tied to account. At this time, we achieve activation by means of network interception.
Mac version
Because I am using the Mac version, the tutorial will be relatively more detailed.
New download the IDE you need, if you have installed the unlimited trial, modified the hosts, please first Uninstall the old version and install it again , otherwise it can not be activated.
The following is an example of PyCharm.
Once installed, open it first, go to the activation page, Do not close, and then proceed with the following steps.
Download ja-netfilter.zip and unzip it to a location you can find.
2022.04.17 Updated:
For the latest 2022.1 version of ja-netfilter.zip .
Open Access, click on Applications on the left side to find PyCharm, right click on the PyCharm icon and click on Show package contents .
Go to the Contents/bin directory and use a text editor to open the pycharm.vmoptions file.
Recommended download for editing using Sublime Text.
Add
-javaagent:/ABUSOLUTE-PATH/ja-netfilter.jarat the end, remember to change it to your own Absolute path and save the file.Exit PyCharm with the shortcut Command + Q .
Reopen, select Activate PyCharm and then click Activation Code .
2022.04.17 Updated:
Another activation option is available here, which is even simpler.
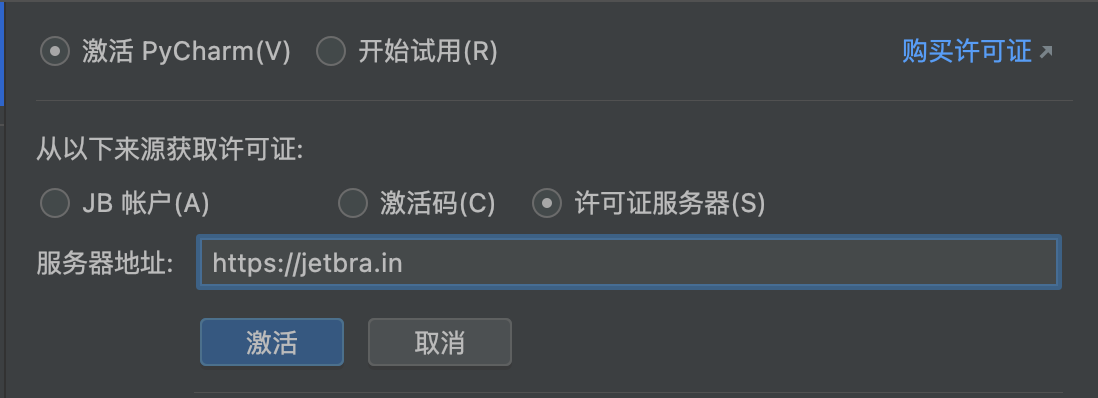
Select the License Server method (license server), enter the server address: https://jetbra.in , and activate it.
Copy the activation code below and paste it into the input box in the activation window and click Activate. Over!
Other: If you have not tried JetBrains products, you do not need to use the following activation code, just select Register Account to try when you open the IDE at Step 2, and the subsequent steps remain the same.
| |
Windows version
Step 4 is different from the Mac version, others are similar:
Next, find the vmoptions file in the IDE installation directory. Whether you are using IDEA, WebStorm, PyCharm or something else, the file name is xxxxx.vmoptions .
Perform steps 1-2 of the tutorial under Mac.
Clear any previously used activation methods.
Download Activation Script and unzip it.
scripts: Scripts for automatic installation and uninstallation of cracked patches (including scripts for Windows, Mac and Linux systems) are placed.
For the problem of not finding the idea.vmoptions file, this time it is much easier to introduce the patch directly by running the script.
vmoptions : JetBrains products are placed in the xxx.vmoptions The new version 2021.3.2 we can refer directly to this folder under xxx.vmoptions configuration file.
Click to run the install-current-user.vbs script to install the crack patch for the current user.
install-all-users.vbs Installed for all users, not recommended.
If a prompt pops up, click OK and wait a few seconds.
Perform steps 7-10 of the tutorial for Mac.
After successful activation, the patch folder cann’t be moved or deleted, because the script will not find the corresponding file, and the activation will be invalid. So, just leave it in the dust, and don’t move it.
Linux version
Refer to the Windows version activation tutorial.
Step 4 Click Run install.sh script to install it.
2021.Version 2.2 and earlier
2021.2.2 and before versions, we can achieve permanent use by unlimited reset trial period patch.
Installing plug-ins
Offline installation method:
1.1、Download the plug-in Download Address
1.2、Install the plug-in
Download the plug-in zip package directly and drag the zip package directly into the IDE window to install the plug-in. If you can’t drag and drop the installation, you can manually install the plugin at (Install Plugin From Disk…) in Settings/Preferences… -> Plugins and the plugin will prompt for successful installation.
Online installation method:
Just search IDE Eval Reset to install it.
Using the plug-in
After successful installation of the plugin, there will be an additional Eval Reset button under Help. Generally, when the IDE window is cut out or cut back (window loses/gains focus) it will trigger an event to detect if it has not been reset for a long time (25 days) and give you a notification to choose. (The first time you install it, you will be prompted directly)
The main interface of the plugin can also be called up manually at
If the IDE does not have the project open, click on the menu in the Welcome screen: Get Help -> Eval Reset. If the IDE has opened the project, click on the menu: Help -> Eval Reset. The main screen of the plug-in is brought up with 2 buttons and 1 checkbox.
- button: Reload is used to refresh the information displayed on the screen.
- button: Reset Clicking on it will ask if you want to reset the trial information and restart the IDE. Select Yes to perform the reset and restart the IDE to take effect, or No to do nothing.
- Check the box: Auto reset before per restart . When checked, the trial information will be automatically reset every time you restart/quit the IDE.
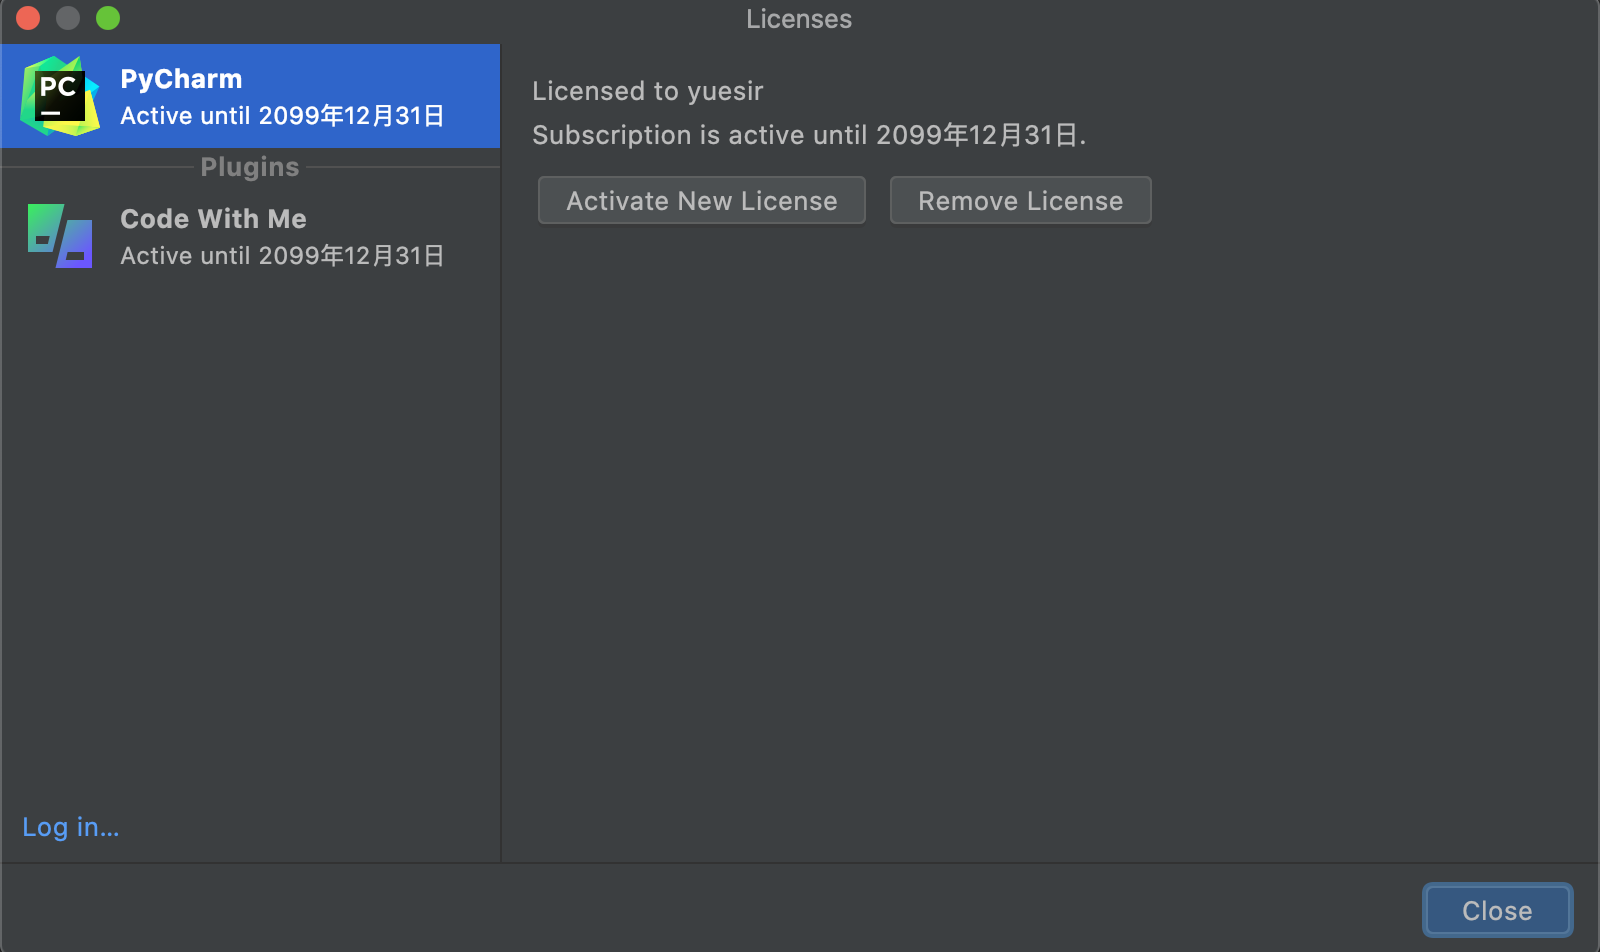
Success Screenshot
Thanks
Update
I have tested (under Mac environment), after upgrading to the latest version 2021.3.2, the first method still works, only Repeat steps 4-7 is needed, you can upgrade with no worries.
The official countermeasures seem to have been added under Windows, and the file can no longer be found in the user directory, so this time I have updated the corresponding part of the tutorial.
Also. After successful activation, it is recommended not to upgrade the new version, it works just fine, you say.
Update 1
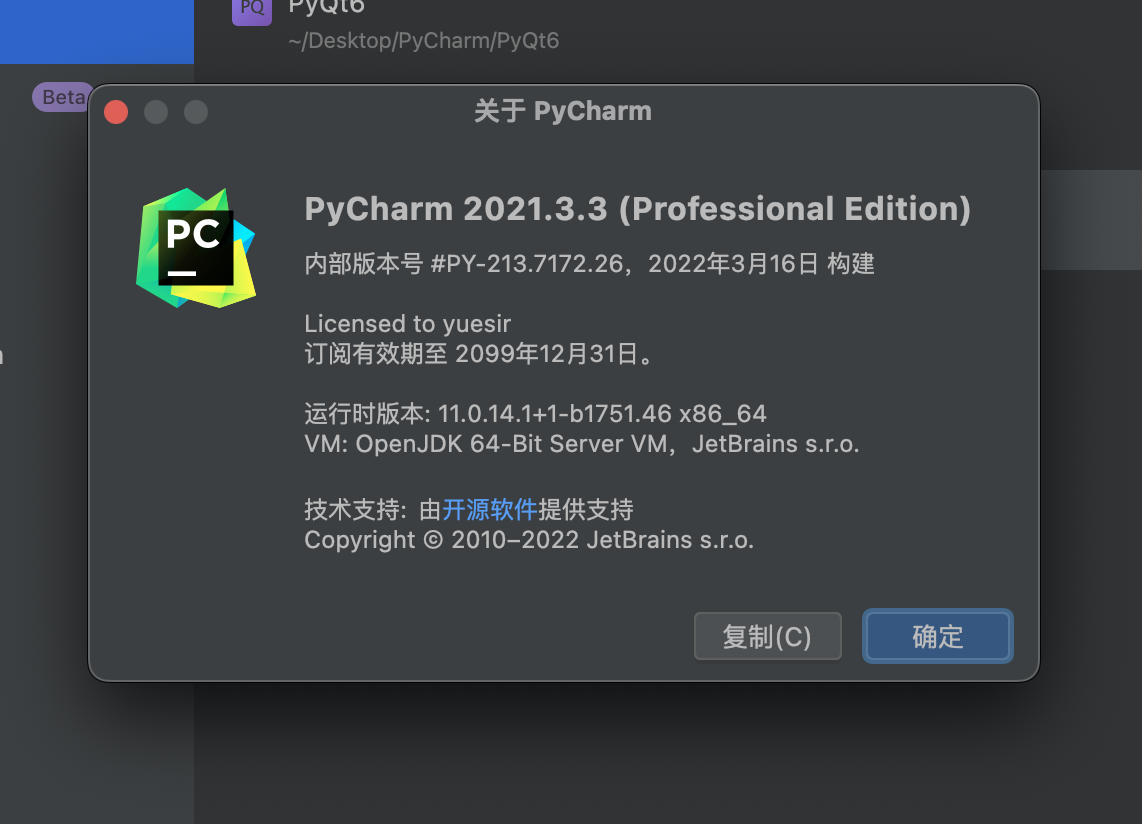
2021.3.3 was updated successfully.
Update 2
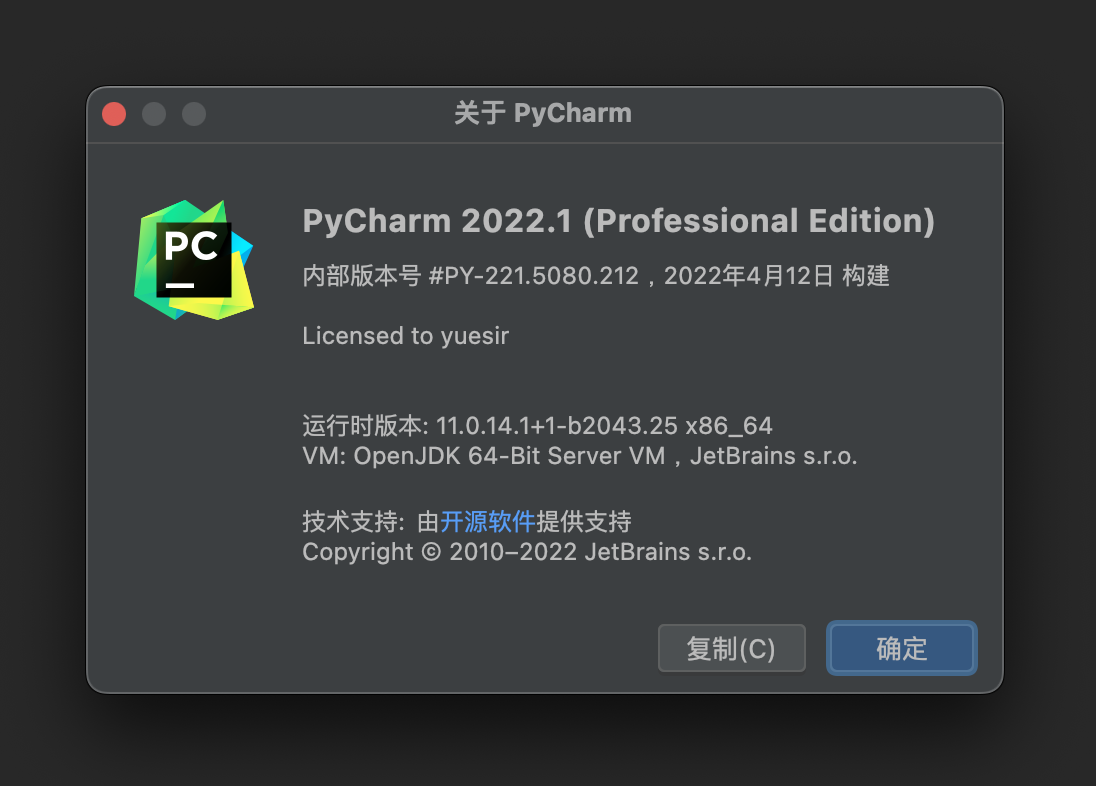
Mac version 2022.1, the previous failed, updated the article.


