Preface
This is a pure tutorial compiled and tested by me. Any similarity to other guides is coincidental.
If you need related apps, search and download yourself or contact me (comments, etc.).
Let’s dive in.
Prep
If you’ve never registered Kuaishou Speed Edition or never withdrawn cash, first register on a real device and bind WeChat (Settings -> Account & Security -> WeChat) to make withdrawals easier.
If this is a second account and you plan to bind Alipay, also log in on a real device first. Alipay can only be bound during withdrawal, so keep the real-device session logged in. After you capture the packet in a VM (BlackBox or VMOS Pro) and send it to me, I’ll run coins until it’s withdrawable; then you withdraw on the real device via Alipay.
Android guide
BLACKBOX
This method uses BlackBox for packet capture—simpler and faster, and my preferred approach.
Install apps
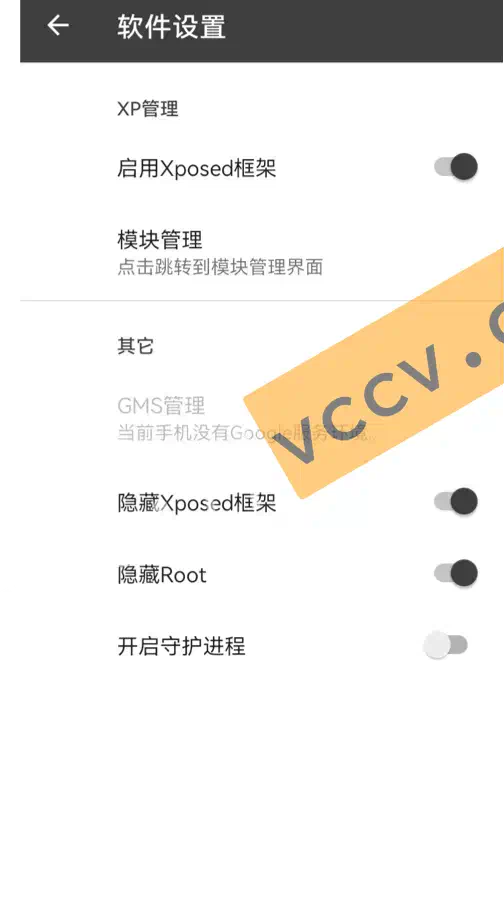
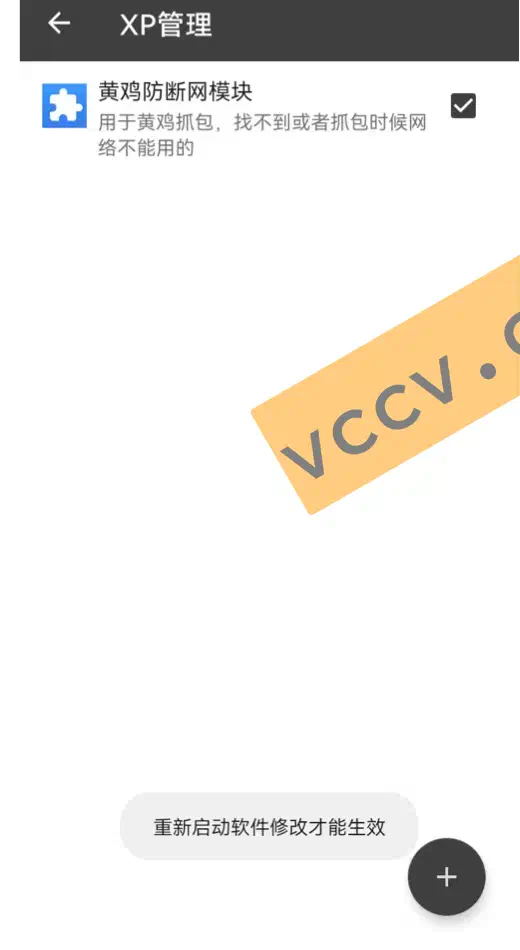
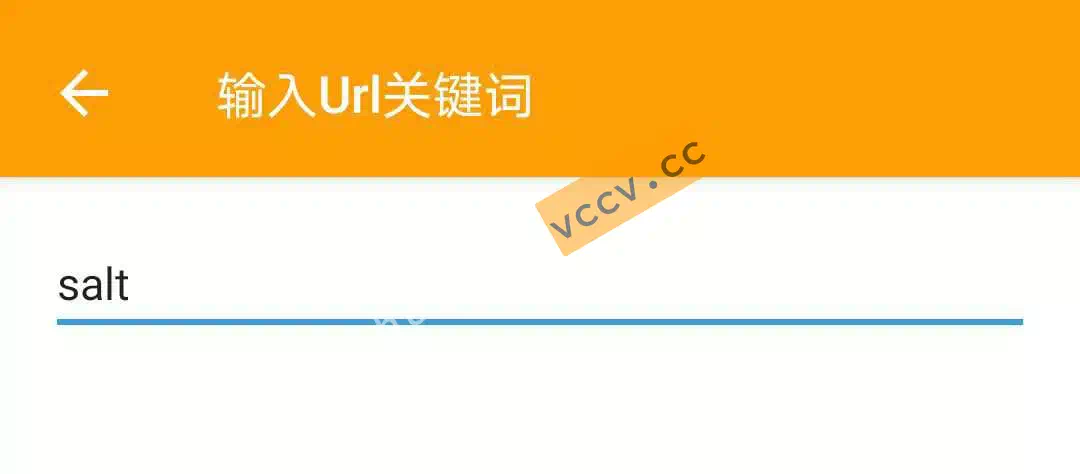
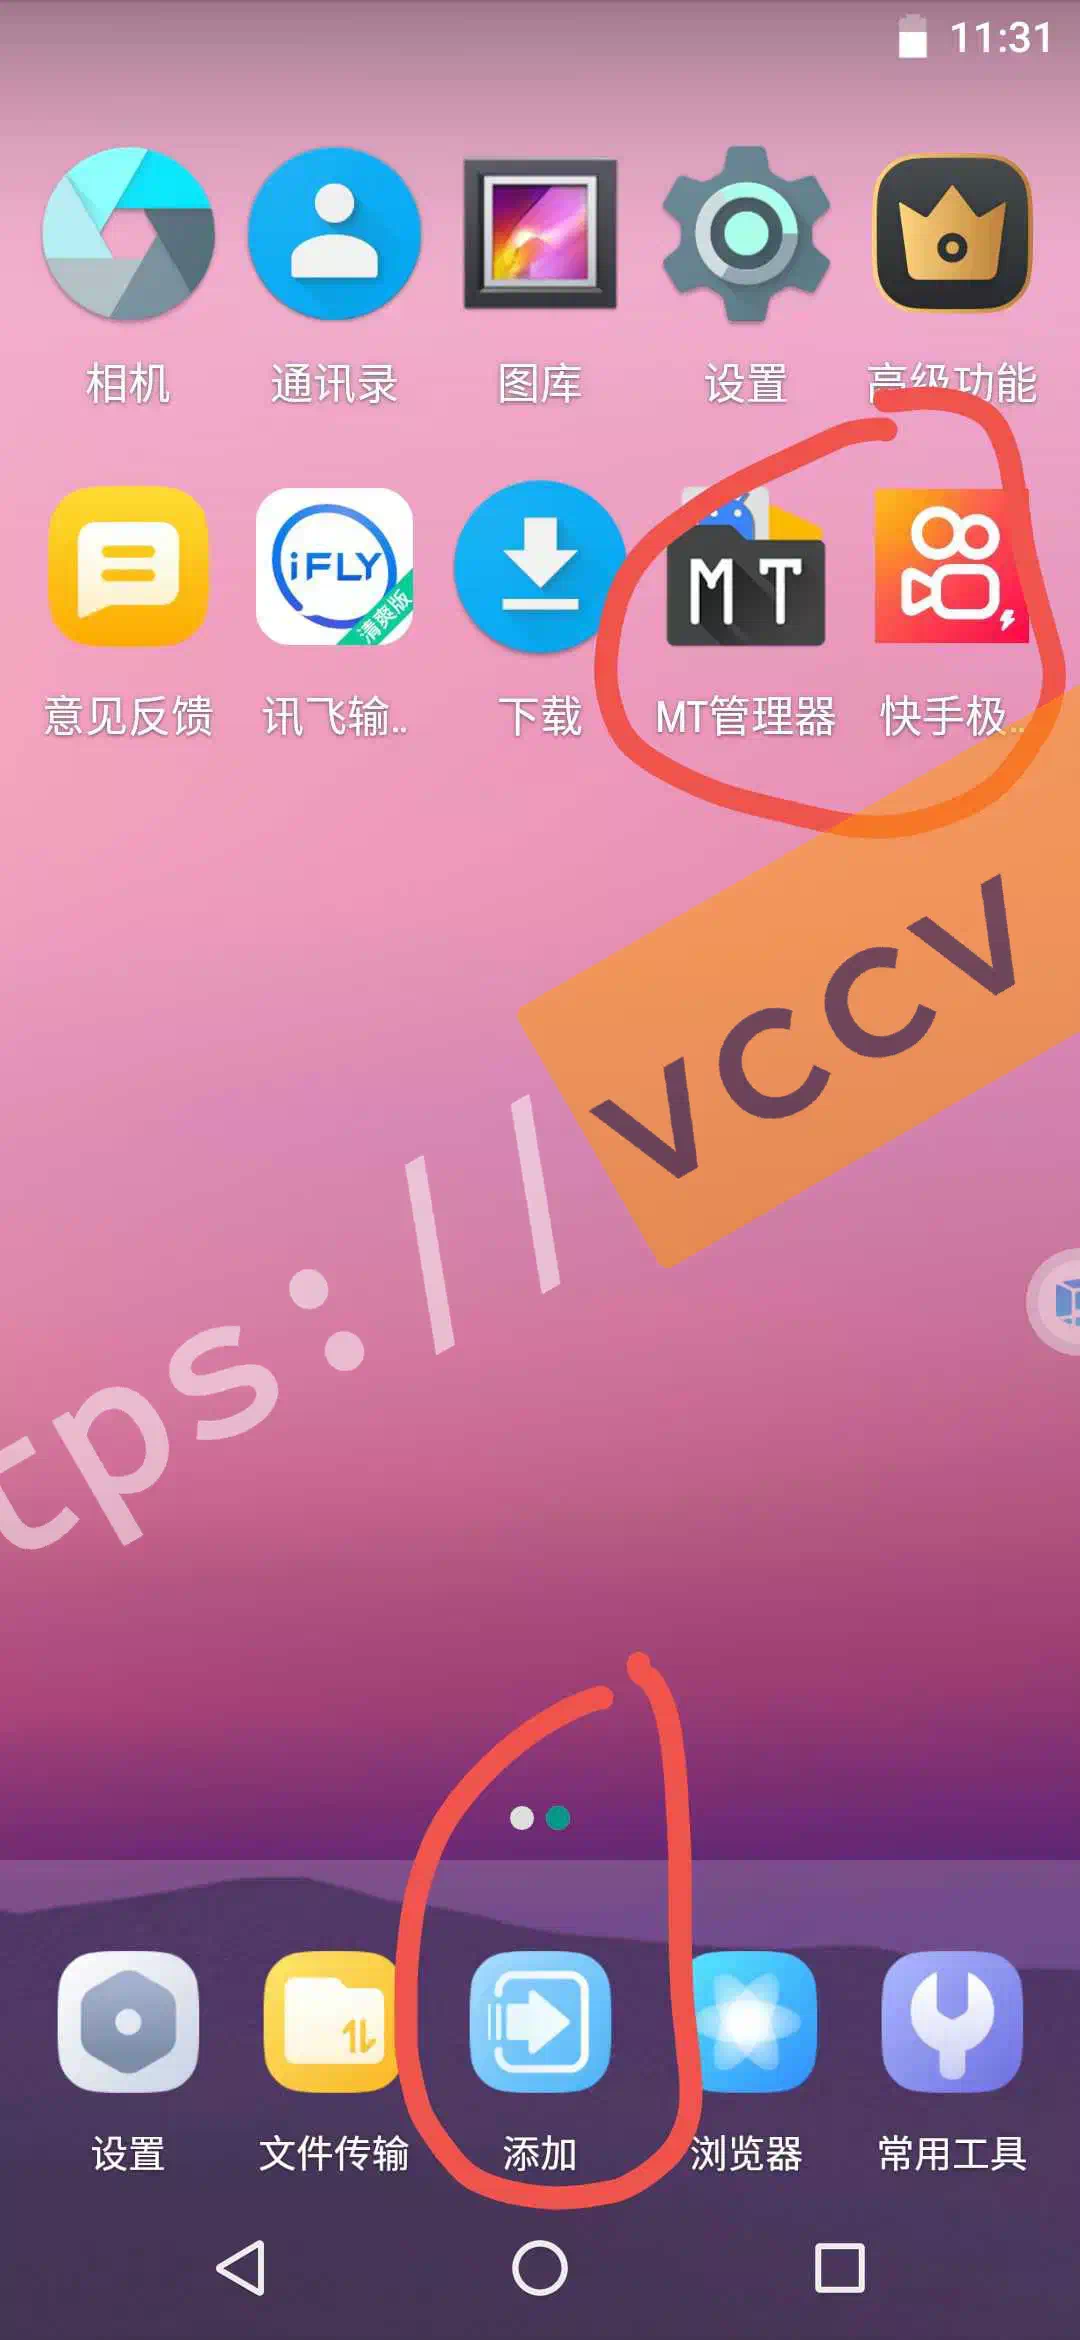
Install BlackBox64 or BlackBox32, HttpCanary, and the “Yellow Chicken anti-disconnect” module.
If your Kuaishou Speed Edition app is 32-bit, use BlackBox32; if 64-bit, use BlackBox64. If you don’t know, install both and see which one can add the app.
Configure BlackBox
Install Kuaishou Speed Edition on the real device. Open BlackBox, tap the bottom-right + to add the app.
If you can’t find Kuaishou Speed Edition in the picker, switch BlackBox32/64.
Tap the three dots top-right -> Settings, enable Xposed Framework, Hide Xposed Framework, and Hide Root.
Open Module Management, tap +, add the Yellow Chicken anti-disconnect module, and check it.
Restart BlackBox twice (open/close a couple of times).
Target app
In HttpCanary, go to Settings -> Target apps, tap +, choose your virtual app BlackBox (32 or 64—pick the one you’re using).
URL keyword
Back on the main page, tap the search icon, scroll to the bottom, choose URL keyword, and enter salt.
This step is crucial—enter it exactly. If HttpCanary is killed in the background, you must re-enter the keyword.
Start capture
On the main page, tap the bottom-right paper plane icon to start capturing.
If prompted to install a cert, you can skip or install. If you fail to capture later, installing is fine (I captured without installing).
Log into Kuaishou
In BlackBox, open Kuaishou Speed Edition (the one inside BlackBox, not the real device). Make sure it’s the first launch and you’re logged out. Log in with phone + SMS. After login, go to Settings -> Account & Security -> WeChat to bind WeChat, or wait to bind WeChat/Alipay during withdrawal.
If entering the phone/OTP does nothing, kill BlackBox and retry.
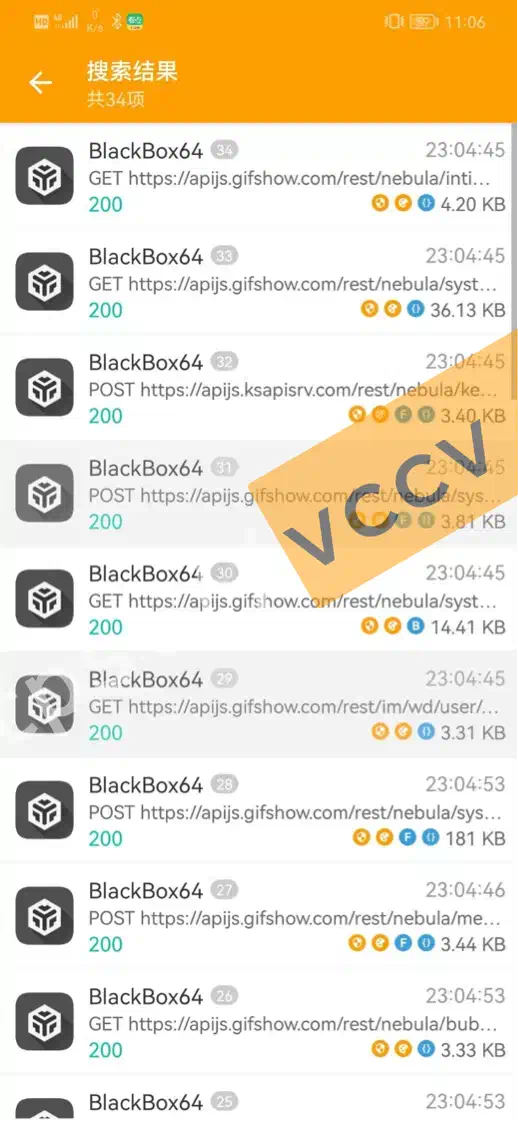
If you capture nothing or can’t pass security checks, uninstall the Kuaishou app inside BlackBox, kill related apps, re-add, start HttpCanary, and log in again.
Capture success
If all went well, return to HttpCanary—you should see captured traffic.
Save request
Open any request, go to Request, tap the top-right save icon, choose Save request.
Send the file
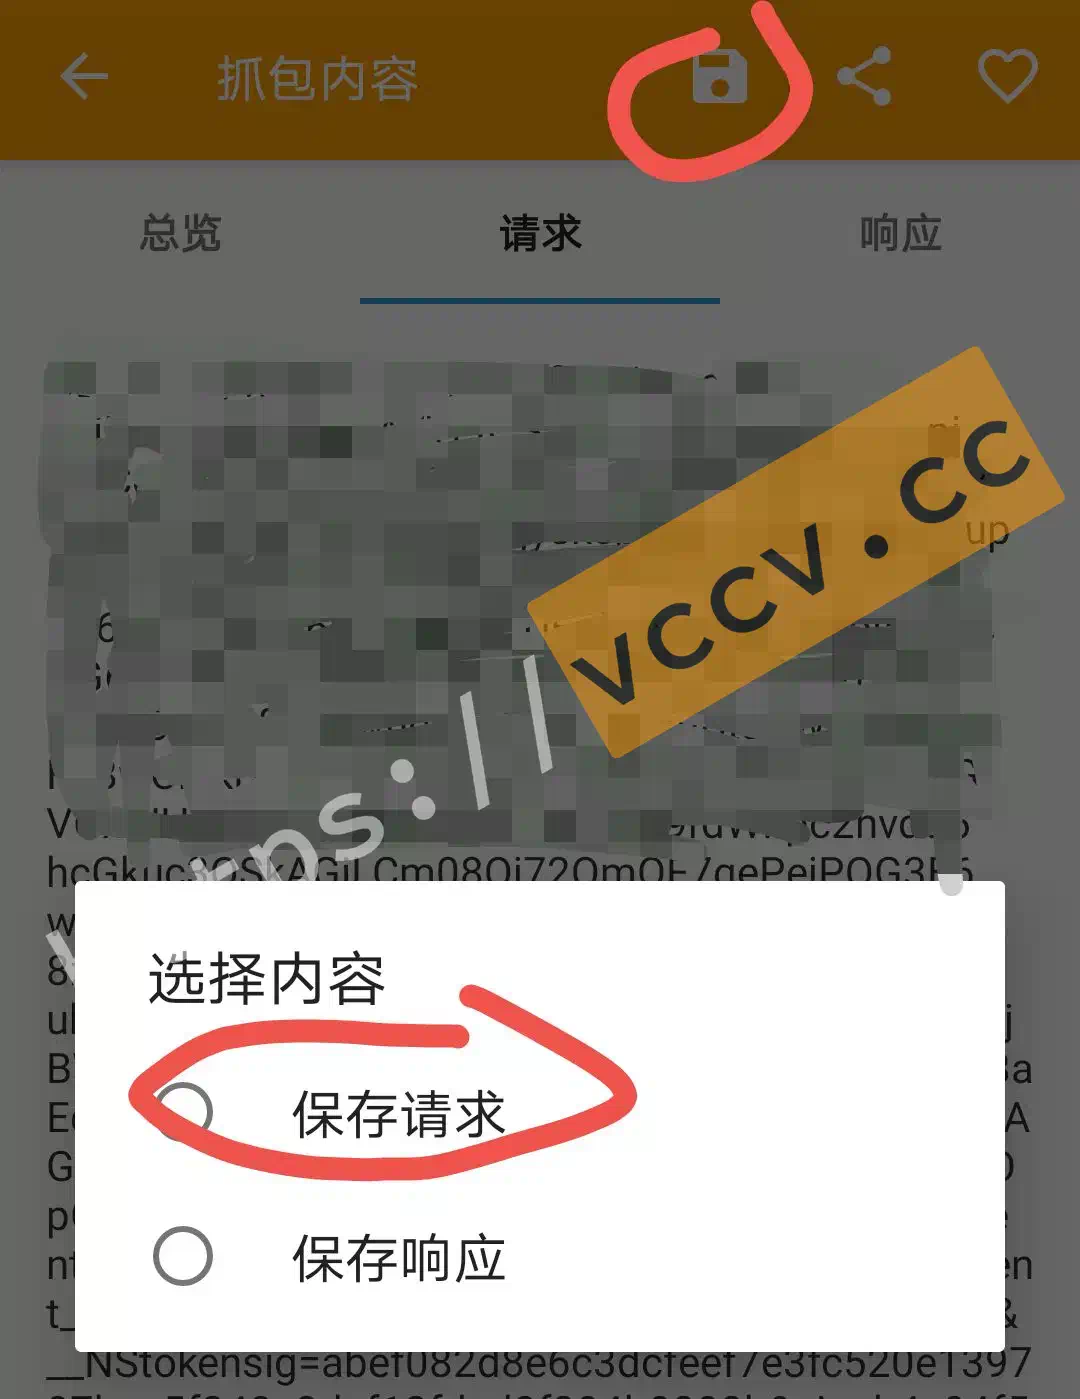
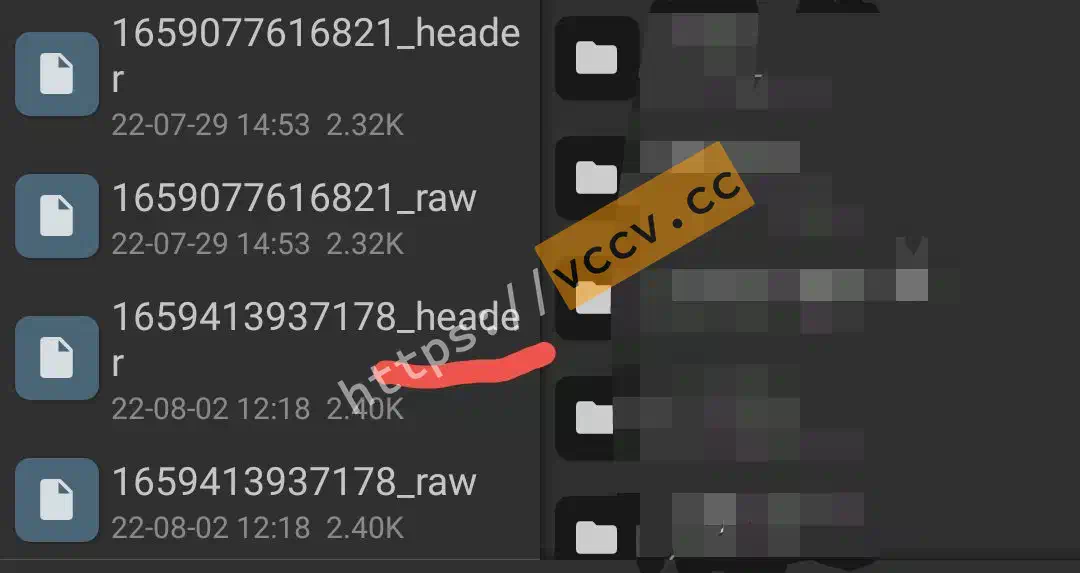
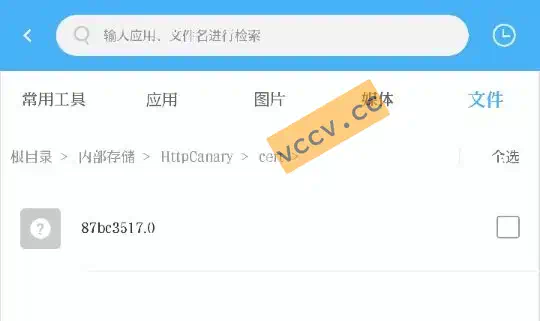
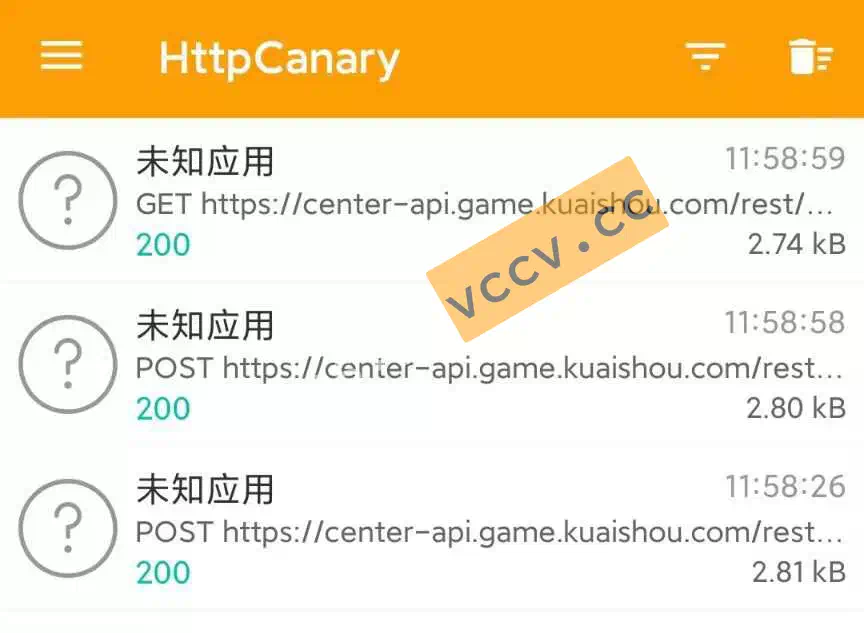
Files are saved under HttpCanary->download. Send the latest file (use a file manager). There may be two files: one ending with header and one with raw. Send the header file.
Cleanup
After capturing, you can close all apps. Do not log out of the Kuaishou account, or the data becomes invalid. Just leave the apps alone.
Create a second VM
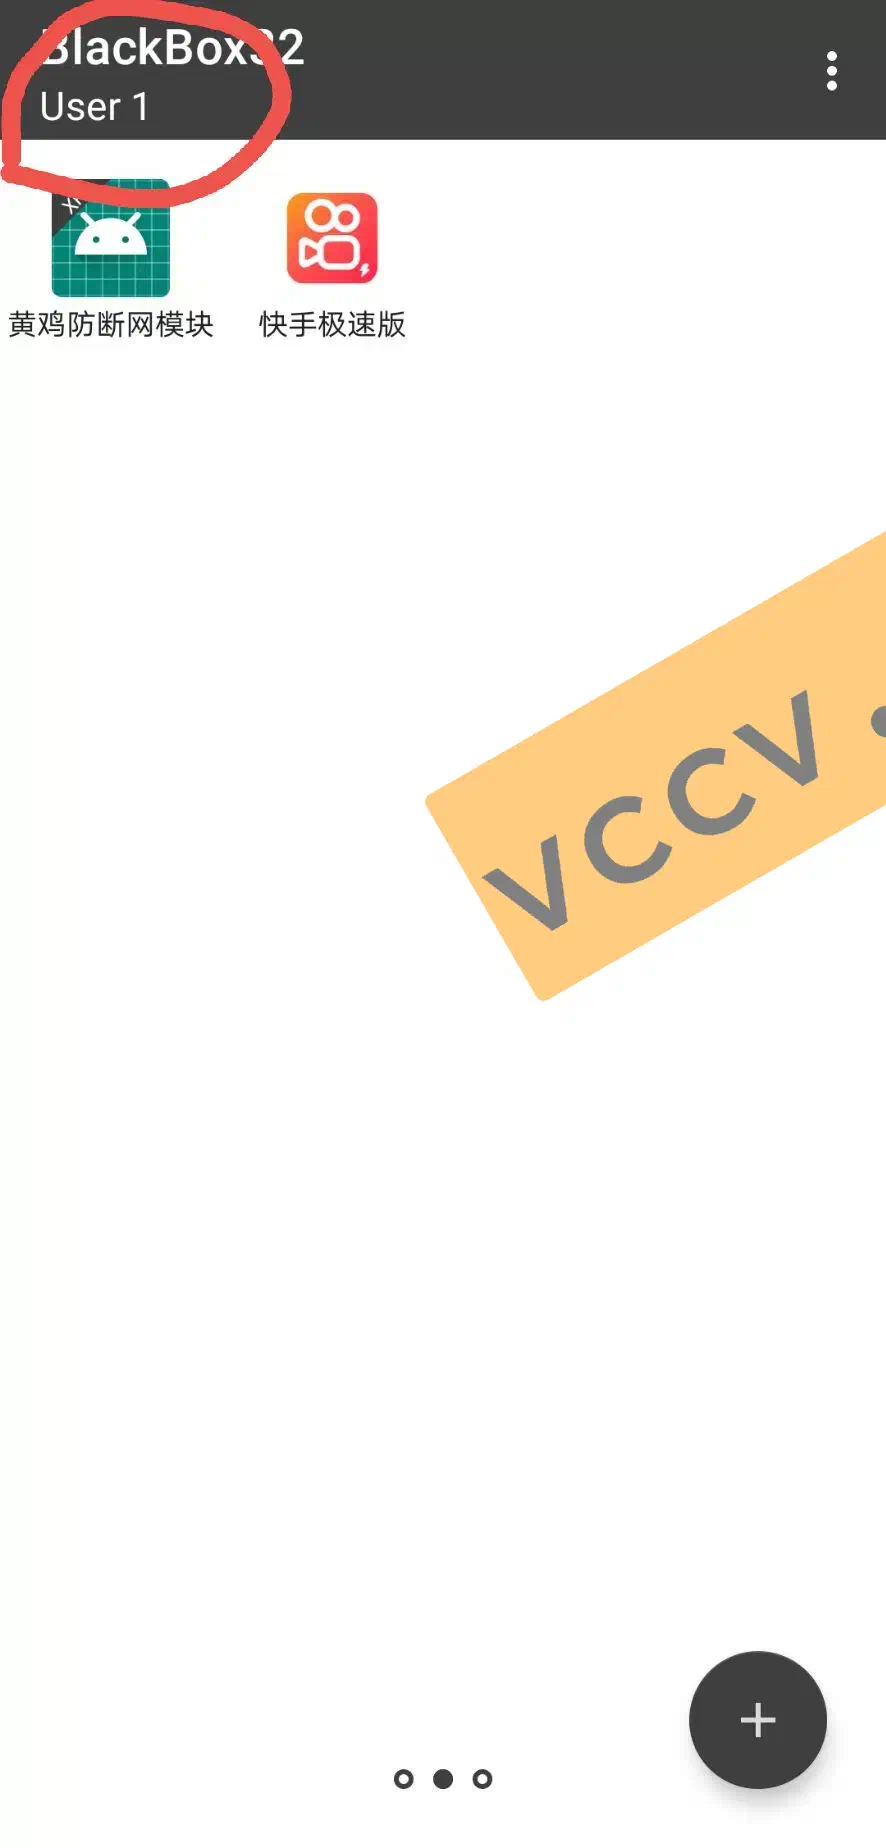
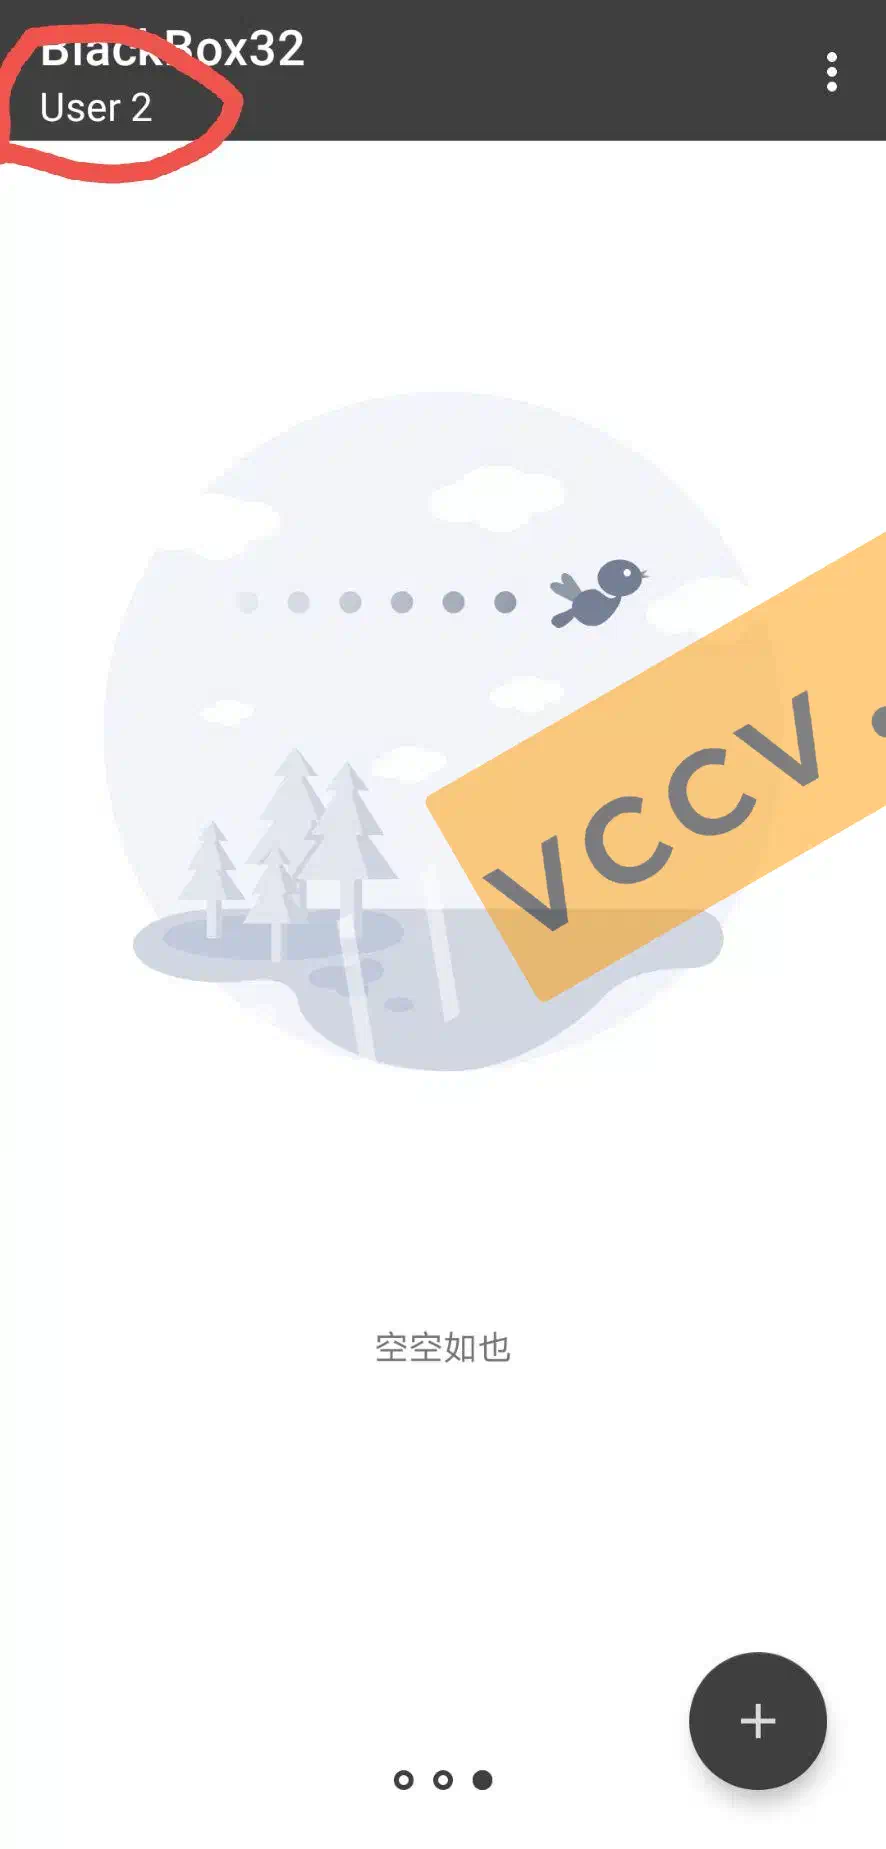
If you need a second account, do not log out the first. Create another virtual space and repeat the steps in BlackBox.
Swipe left on BlackBox home to switch spaces:
Other steps are the same.
Note:
The second account must use a different phone number and withdrawal method. If you only have one WeChat, capture and send the data first; after I process the coins, bind Alipay during withdrawal.
VMOS PRO
This method uses VMOS Pro. It’s more complex but isolates from the real device and suits multiple accounts.
Install apps
Install HttpCanary (specific version), VMOS Pro (virtual machine with root), and MT Manager (file manager).
HttpCanary must support exporting system certs; I use v9.2.8.1.
Export certificate
Open HttpCanary -> Settings -> SSL certificate settings -> Export HttpCanary root certificate -> System Trusted (.0).
Note the path, typically HttpCanary/cert.
Create VM
Open VMOS Pro and pick the second template—it defaults to Android 7.1.2.
Import files
Inside the VM, tap the dock Add icon and import Kuaishou Speed Edition, MT Manager, and the cert file from above. They’ll auto-install in the VM.
Important: ensure you imported the cert. If
VMOSfiletransferstationlater appears empty, you forgot the cert!
Get root
In VM settings, enable Superuser. A Superuser app should appear, meaning root access is active.
Grant permissions
Open MT Manager inside the VM. When prompted, allow Superuser (check “remember”).
Move the cert
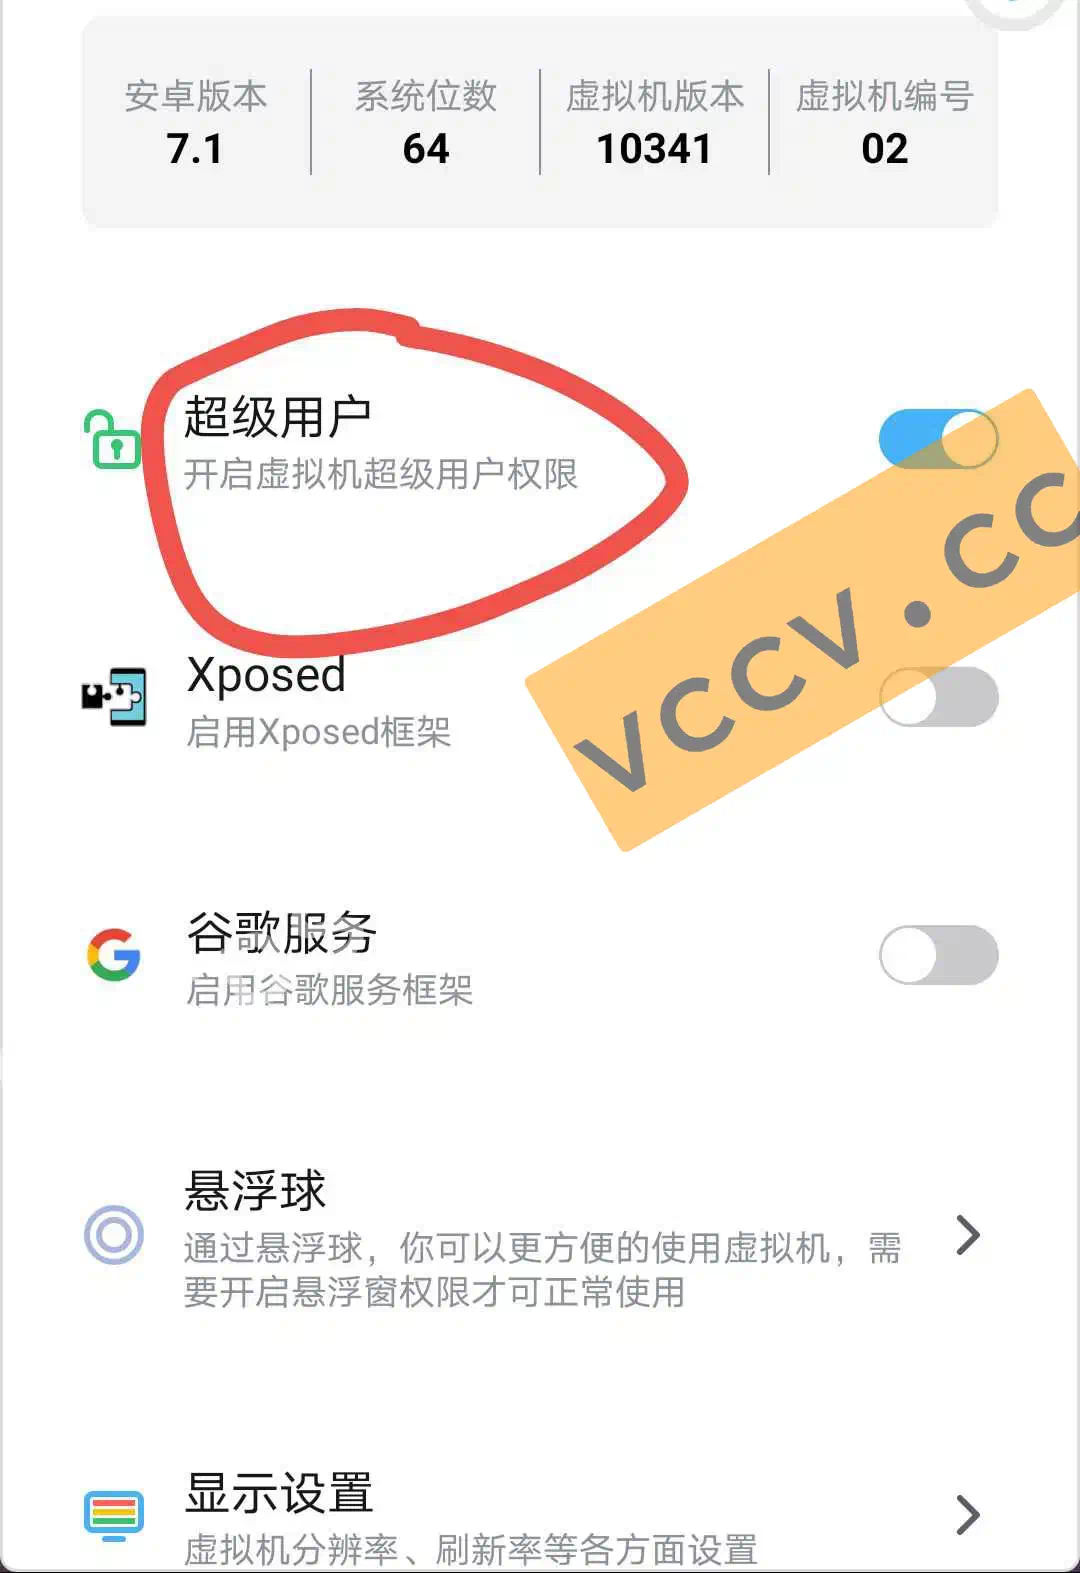
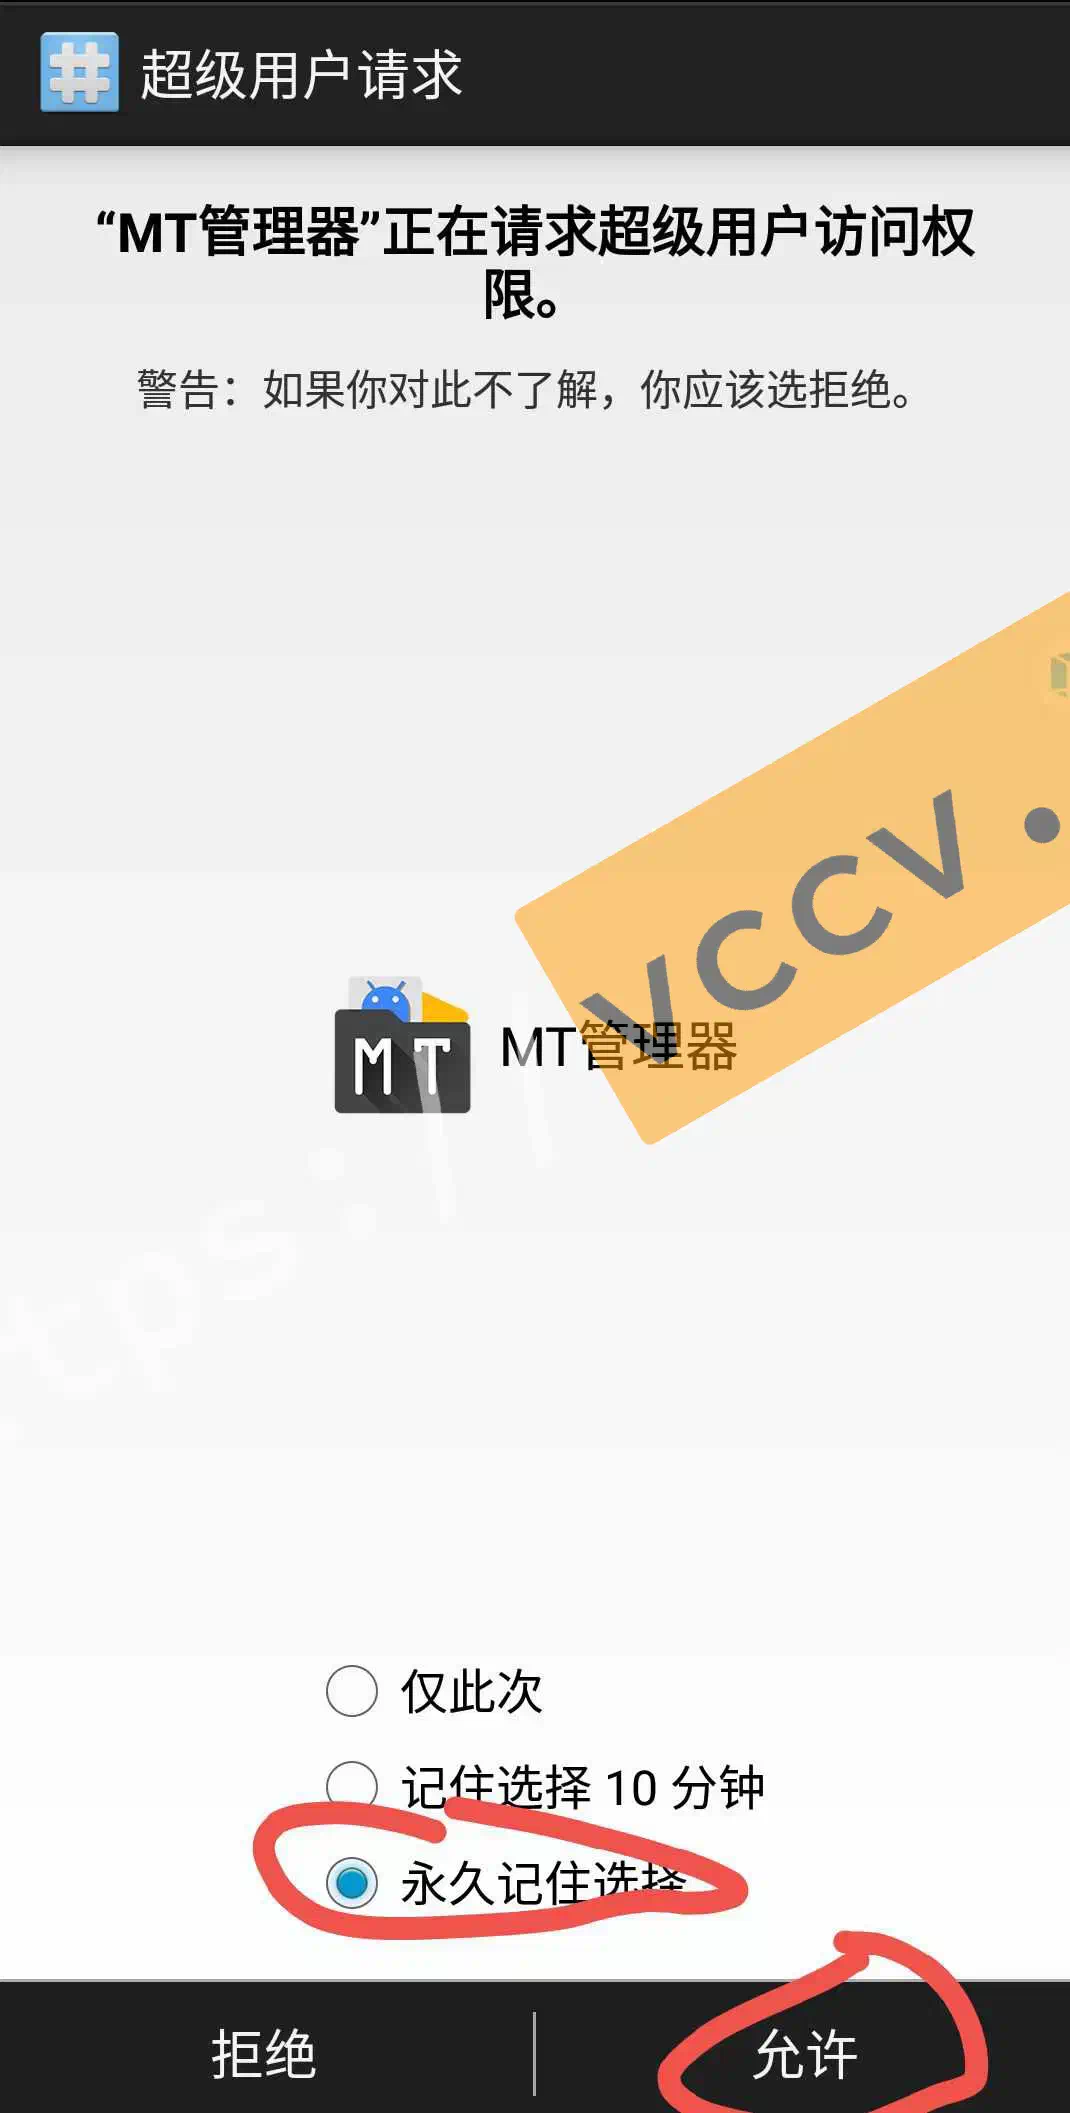
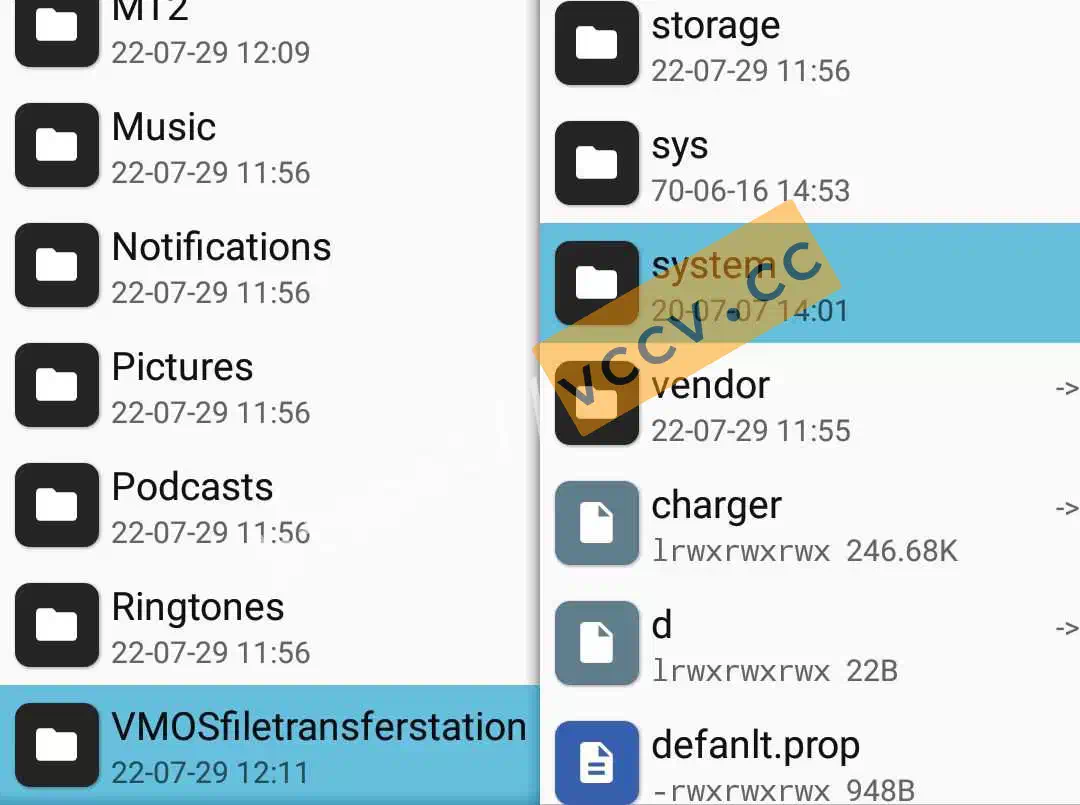
In MT Manager, left pane: VMOSfiletransferstation; right pane: system. If there’s no system folder, root access failed—redo the previous step.
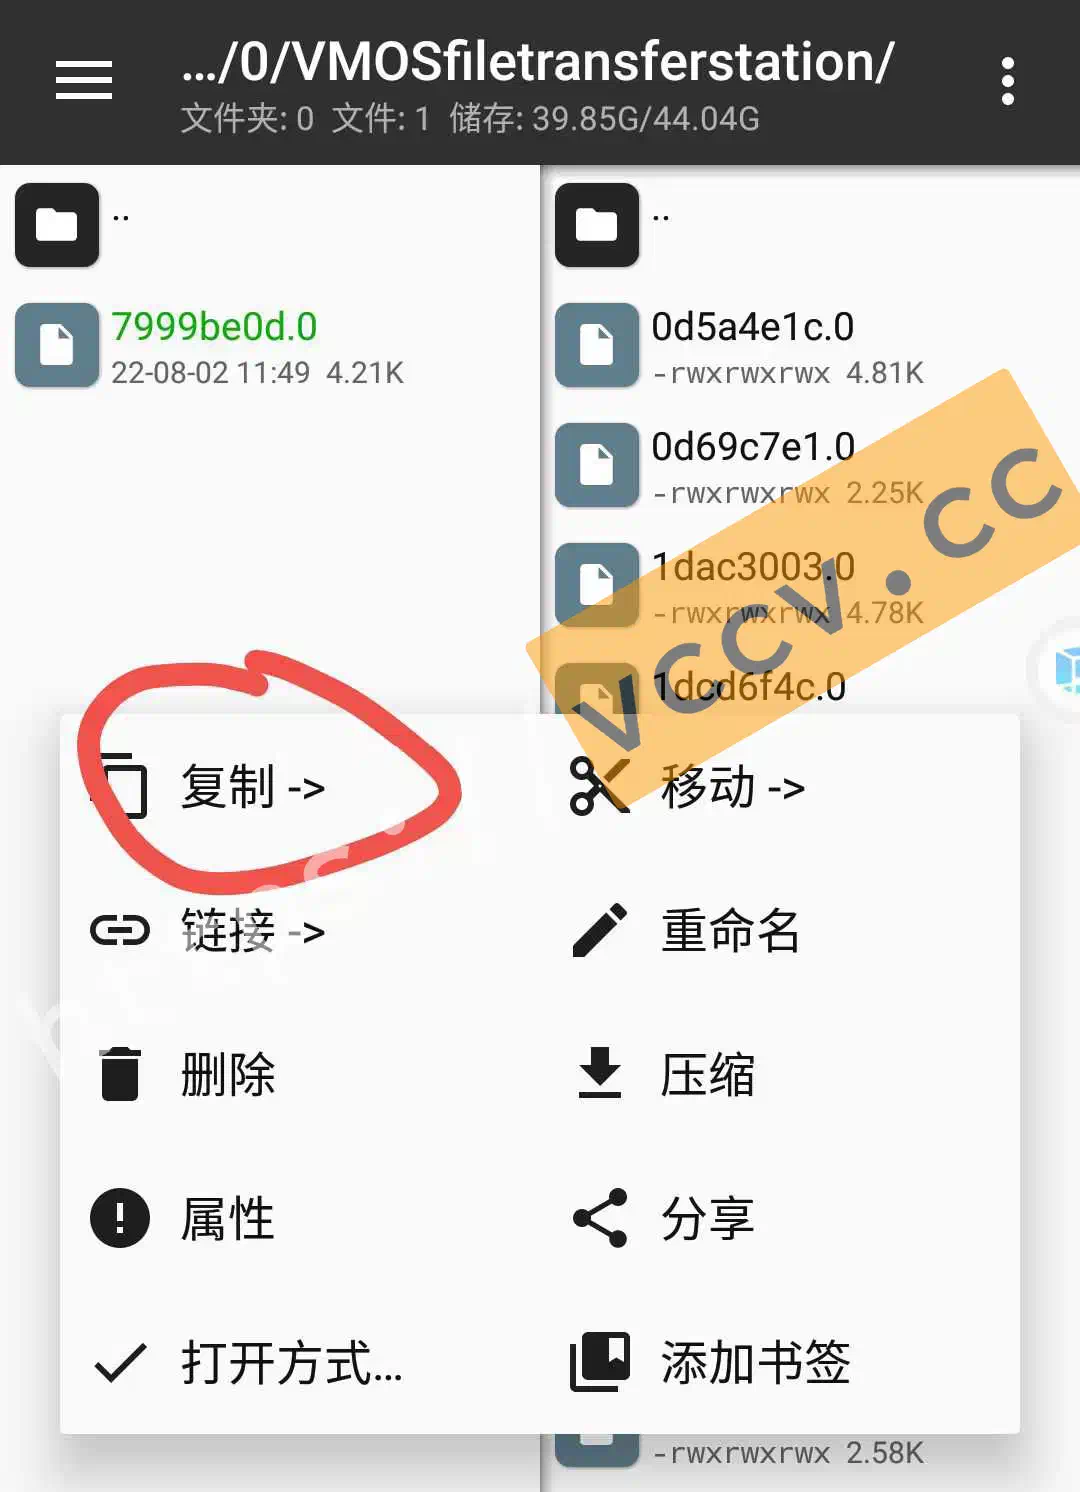
On the right, go to system->etc->security->cacerts. On the left, open VMOSfiletransferstation to find the cert file. Long-press the cert on the left and Copy—it will appear on the right. Different filenames are normal.
Long-press the cert file on the left and tap Copy. It should appear on the right. Filename differences are normal.
Target app
Back on the real device, open HttpCanary -> Settings -> Target apps, tap +, choose VMOS Pro.
URL keyword
On the main page, tap the search icon, scroll to the bottom, choose URL keyword, and enter salt.
This is critical—enter it correctly.
Start capture
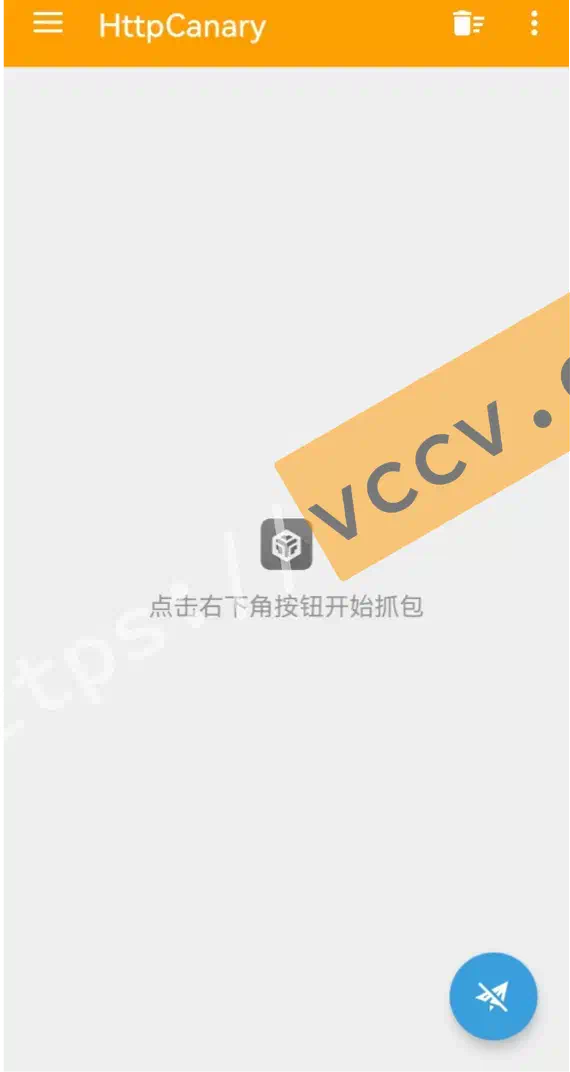
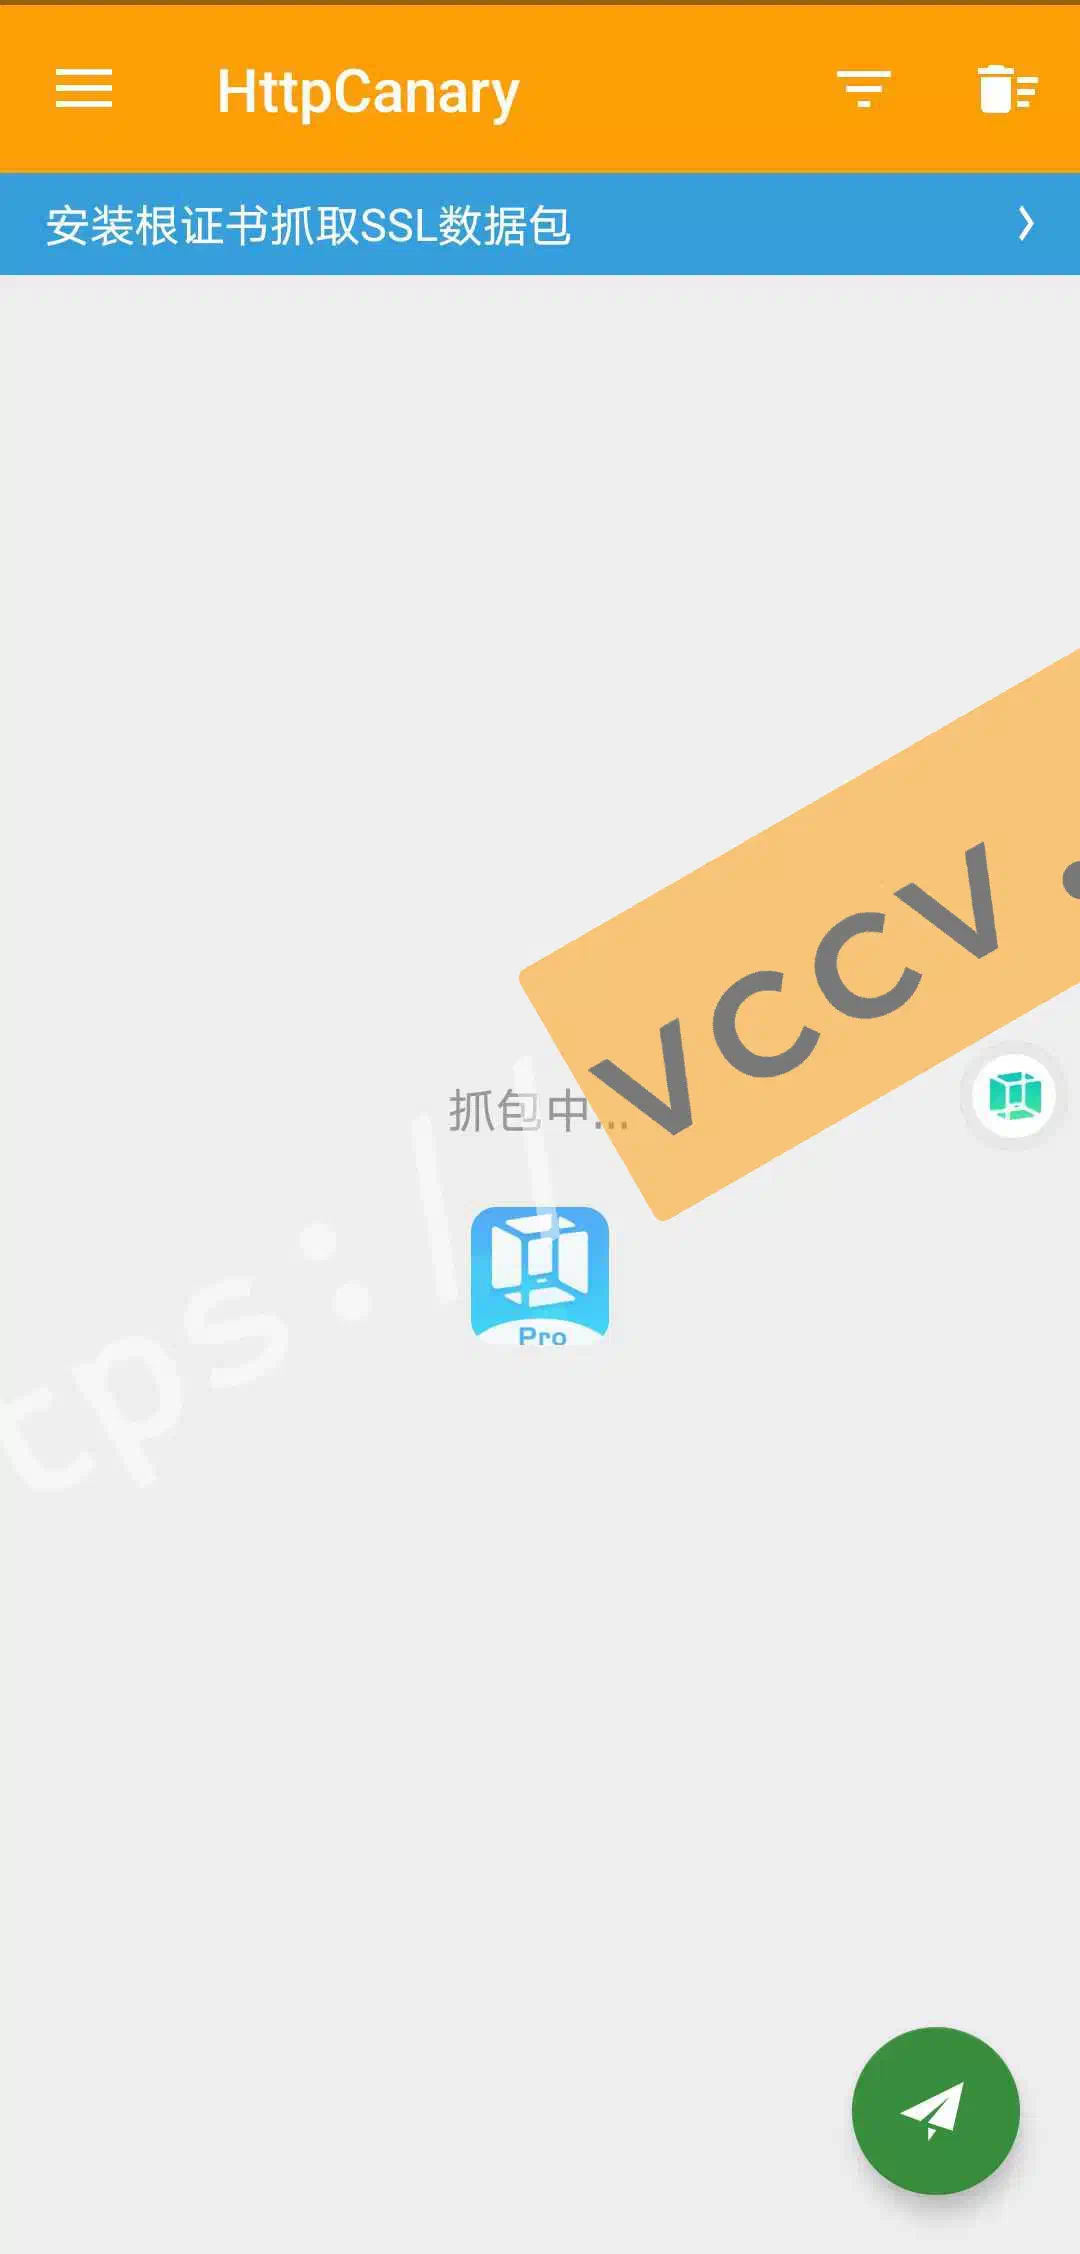
Return to the main page and tap the bottom-right paper plane to start.
If you’re rooted, you can move the cert directly on the real device—no VM needed. The “Install root certificate to capture SSL data” banner is normal for non-root users; ignore it.
Log into Kuaishou
Inside the VM, open Kuaishou Speed Edition for the first time (logged out). Log in with phone + SMS. After login, go to Settings -> Account & Security -> WeChat to bind WeChat, or bind during withdrawal.
If login fails or buttons do nothing, kill all related apps and retry, or try later. Another trick: while logged in, close the VM, wait (even 30 minutes), then start HttpCanary, start the VM, and open Kuaishou—the packet may be captured instantly.
Capture success
If all went well, HttpCanary should show three entries of ~2.8kB each.
Save request
Open any entry, go to Request, tap save top-right, choose Save request.
Send the file
Files live in HttpCanary->download. Send the latest file. You may see two files: one ending with header, one with raw. Send the header file.
iOS guide
My iOS setup:
Jailbroken, iOS 14.2.1
Tools: Crane (jailbreak tweak for multi-instance), Thor (paid sniffer), Stream (free sniffer)
To be continued.


