Straight to the Point
Goal: use Visual Studio Code
(aka vscode) to develop on a remote server over SSH with a local-like experience. Notebook support is especially smooth with the VS Code notebook extensions.
For consistency, I’ll use these terms:
- Visual Studio Code →
vscode - Remote server (usually Linux) → remote server
- Local machine (Windows/macOS/Linux) → host
Remote-SSHextension → remote extension- Jupyter Notebook → notebook
- Extensions → plugins
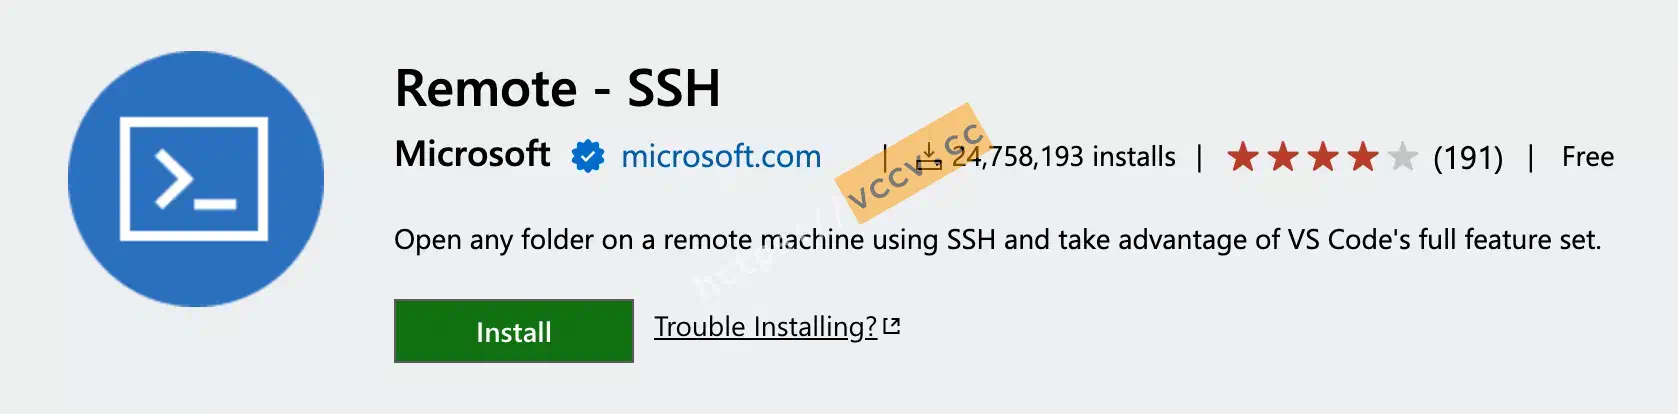
VS Code’s success owes a lot to open source and a vibrant extension ecosystem. Remote development is powered by the Remote-SSH plugin.
Remote dev isn’t limited to SSH:
- Windows host to local WSL
- Local Docker containers
- GitHub Codespaces
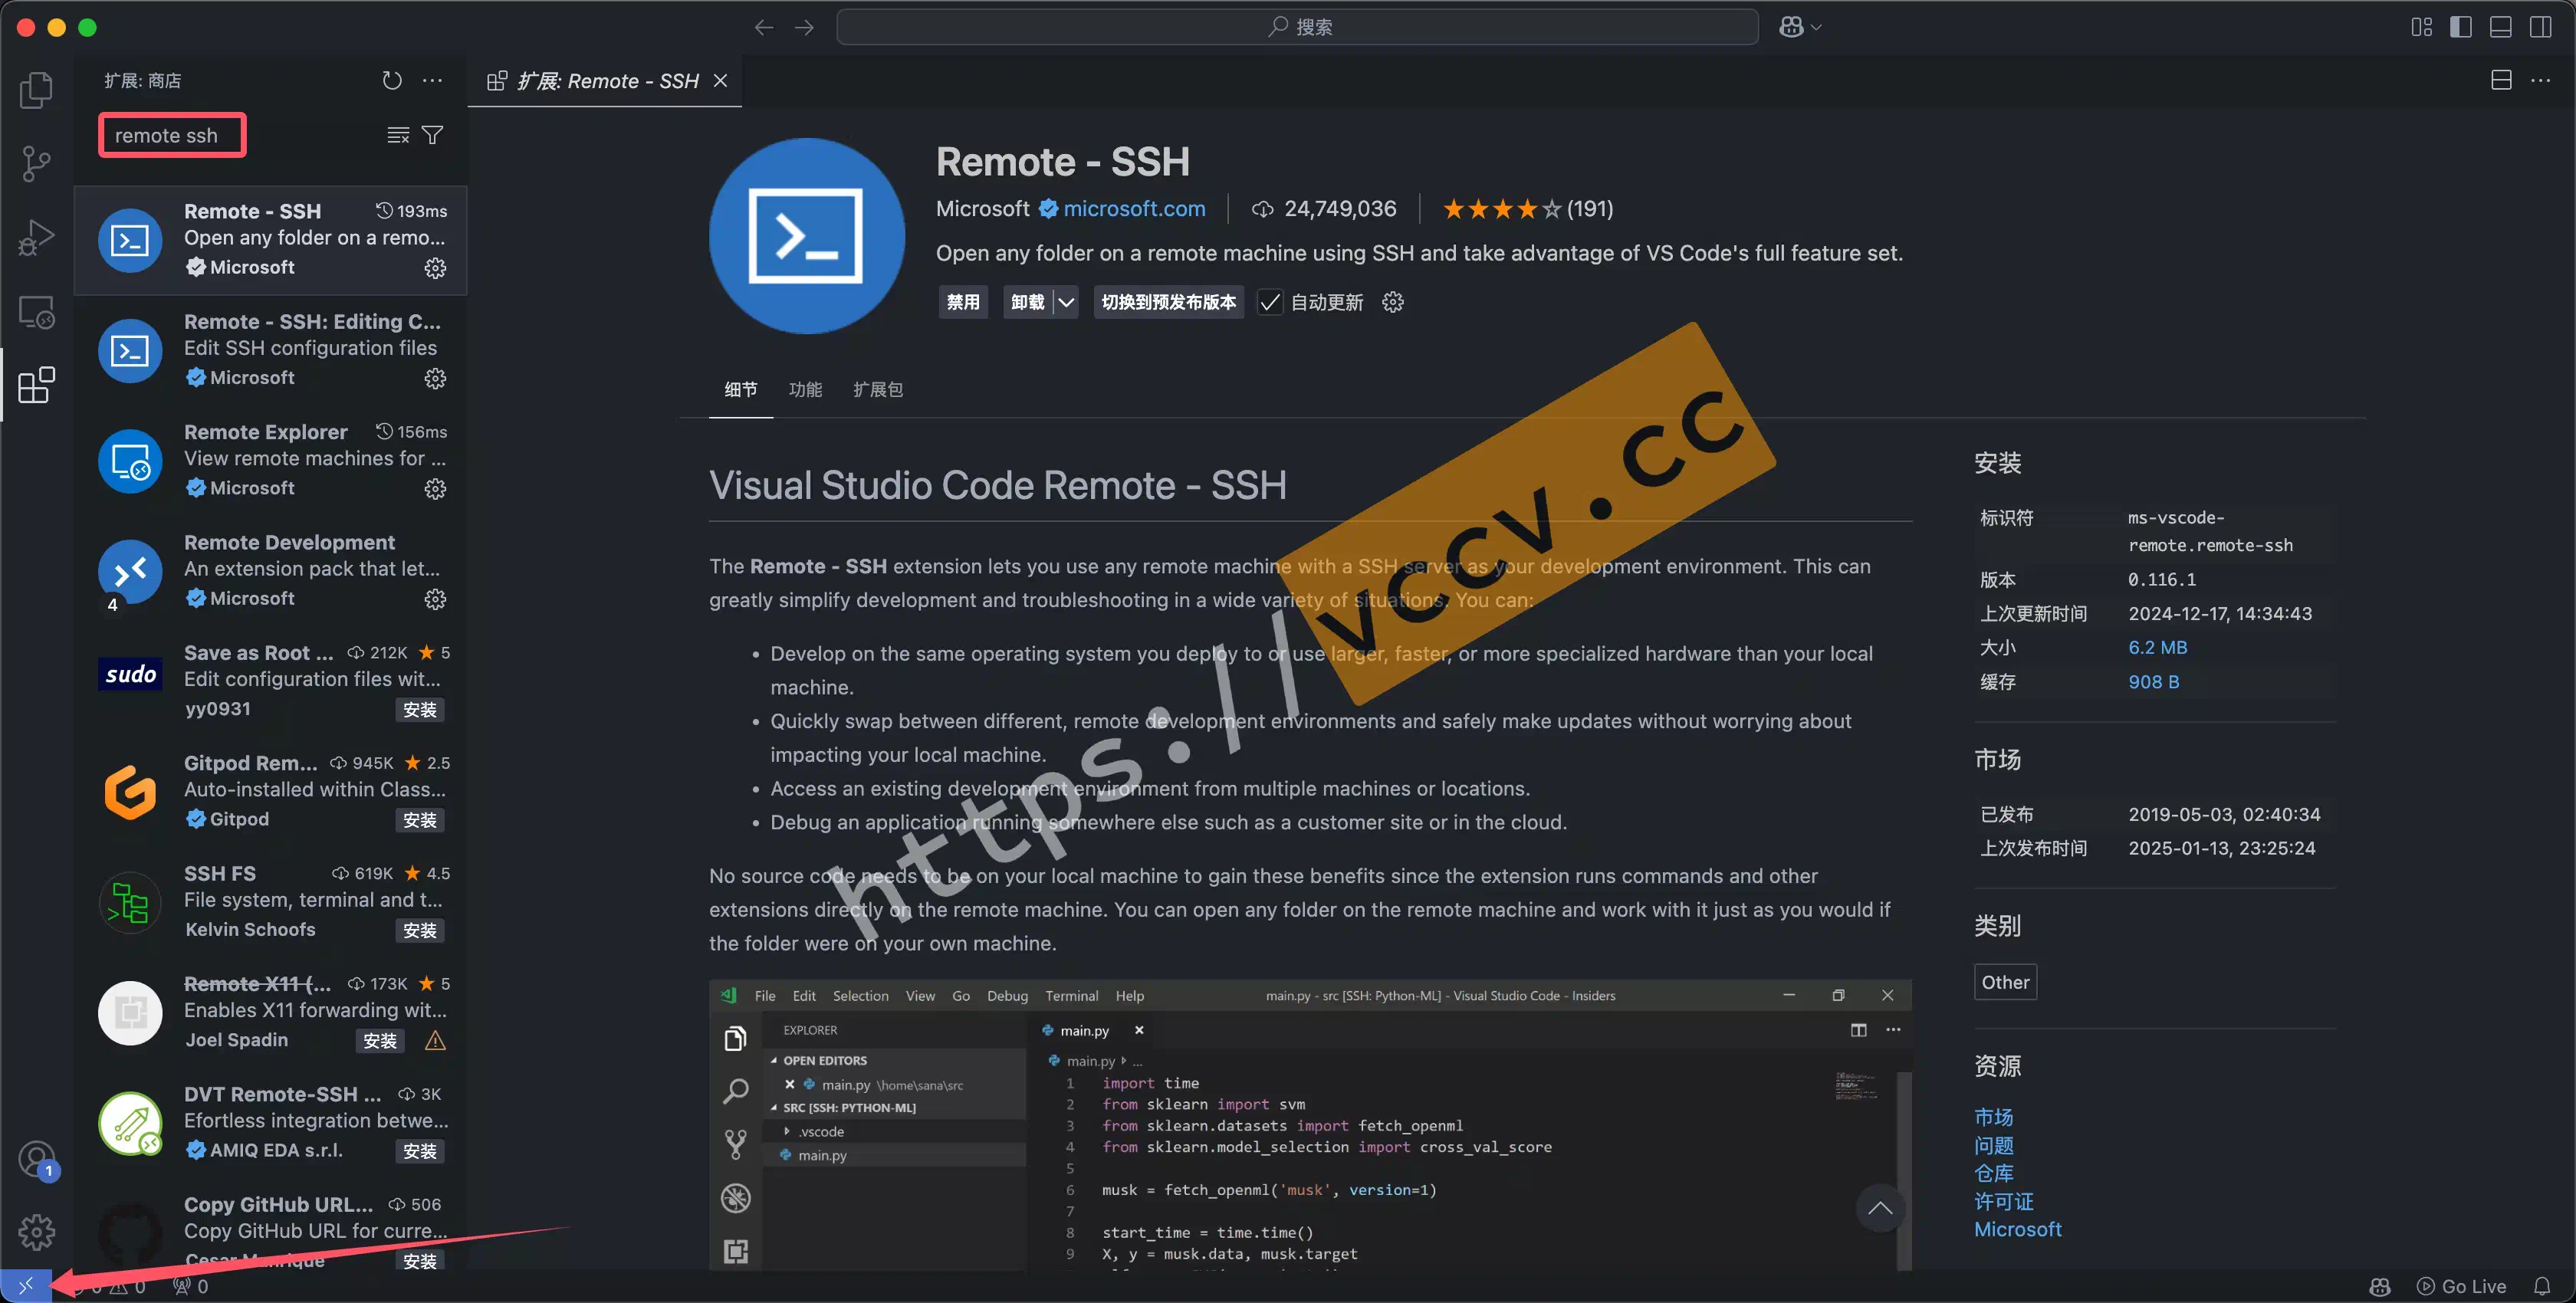
First step: download VS Code and install the remote extension. After installation, a remote icon appears in the lower-left corner.
If the extension fails to install, update VS Code or reinstall.
Configure Server Info
Click the lower-left remote icon and choose the appropriate target. For SSH, pick Connect to Host. Two ways to configure:
Method 1: ssh command
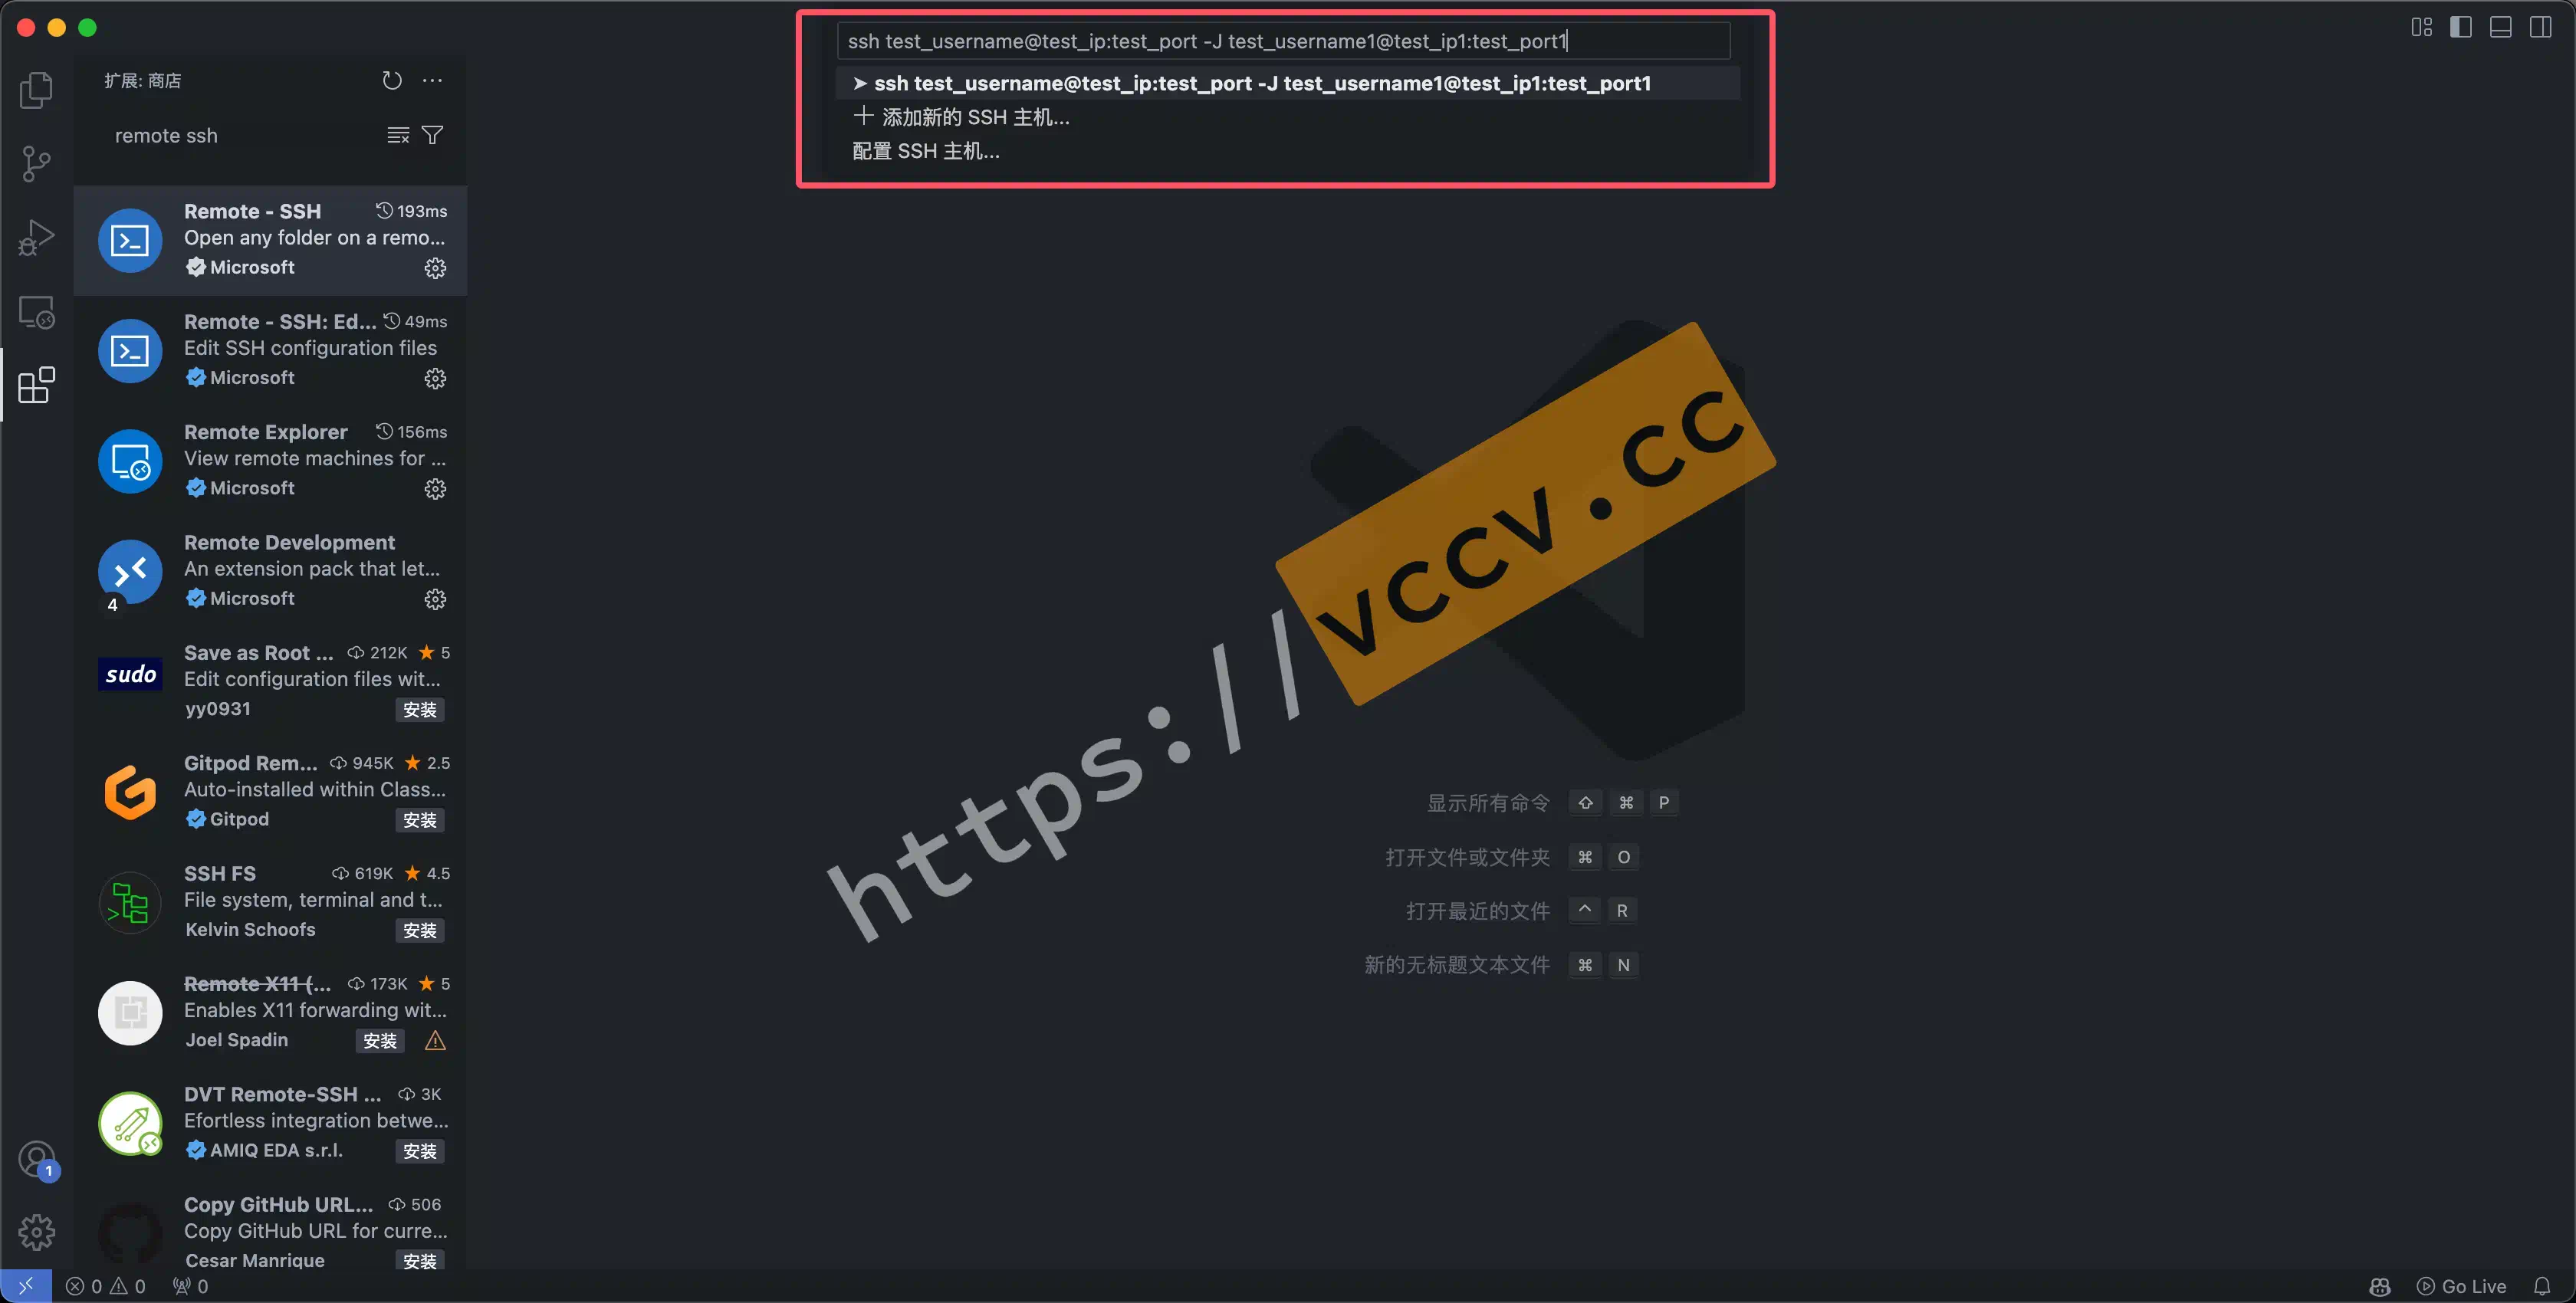
Enter a full ssh command directly. Replace username with your account, host with IP or domain, port with the SSH port. For a jump host, use -J with jump user/host/port.
| |
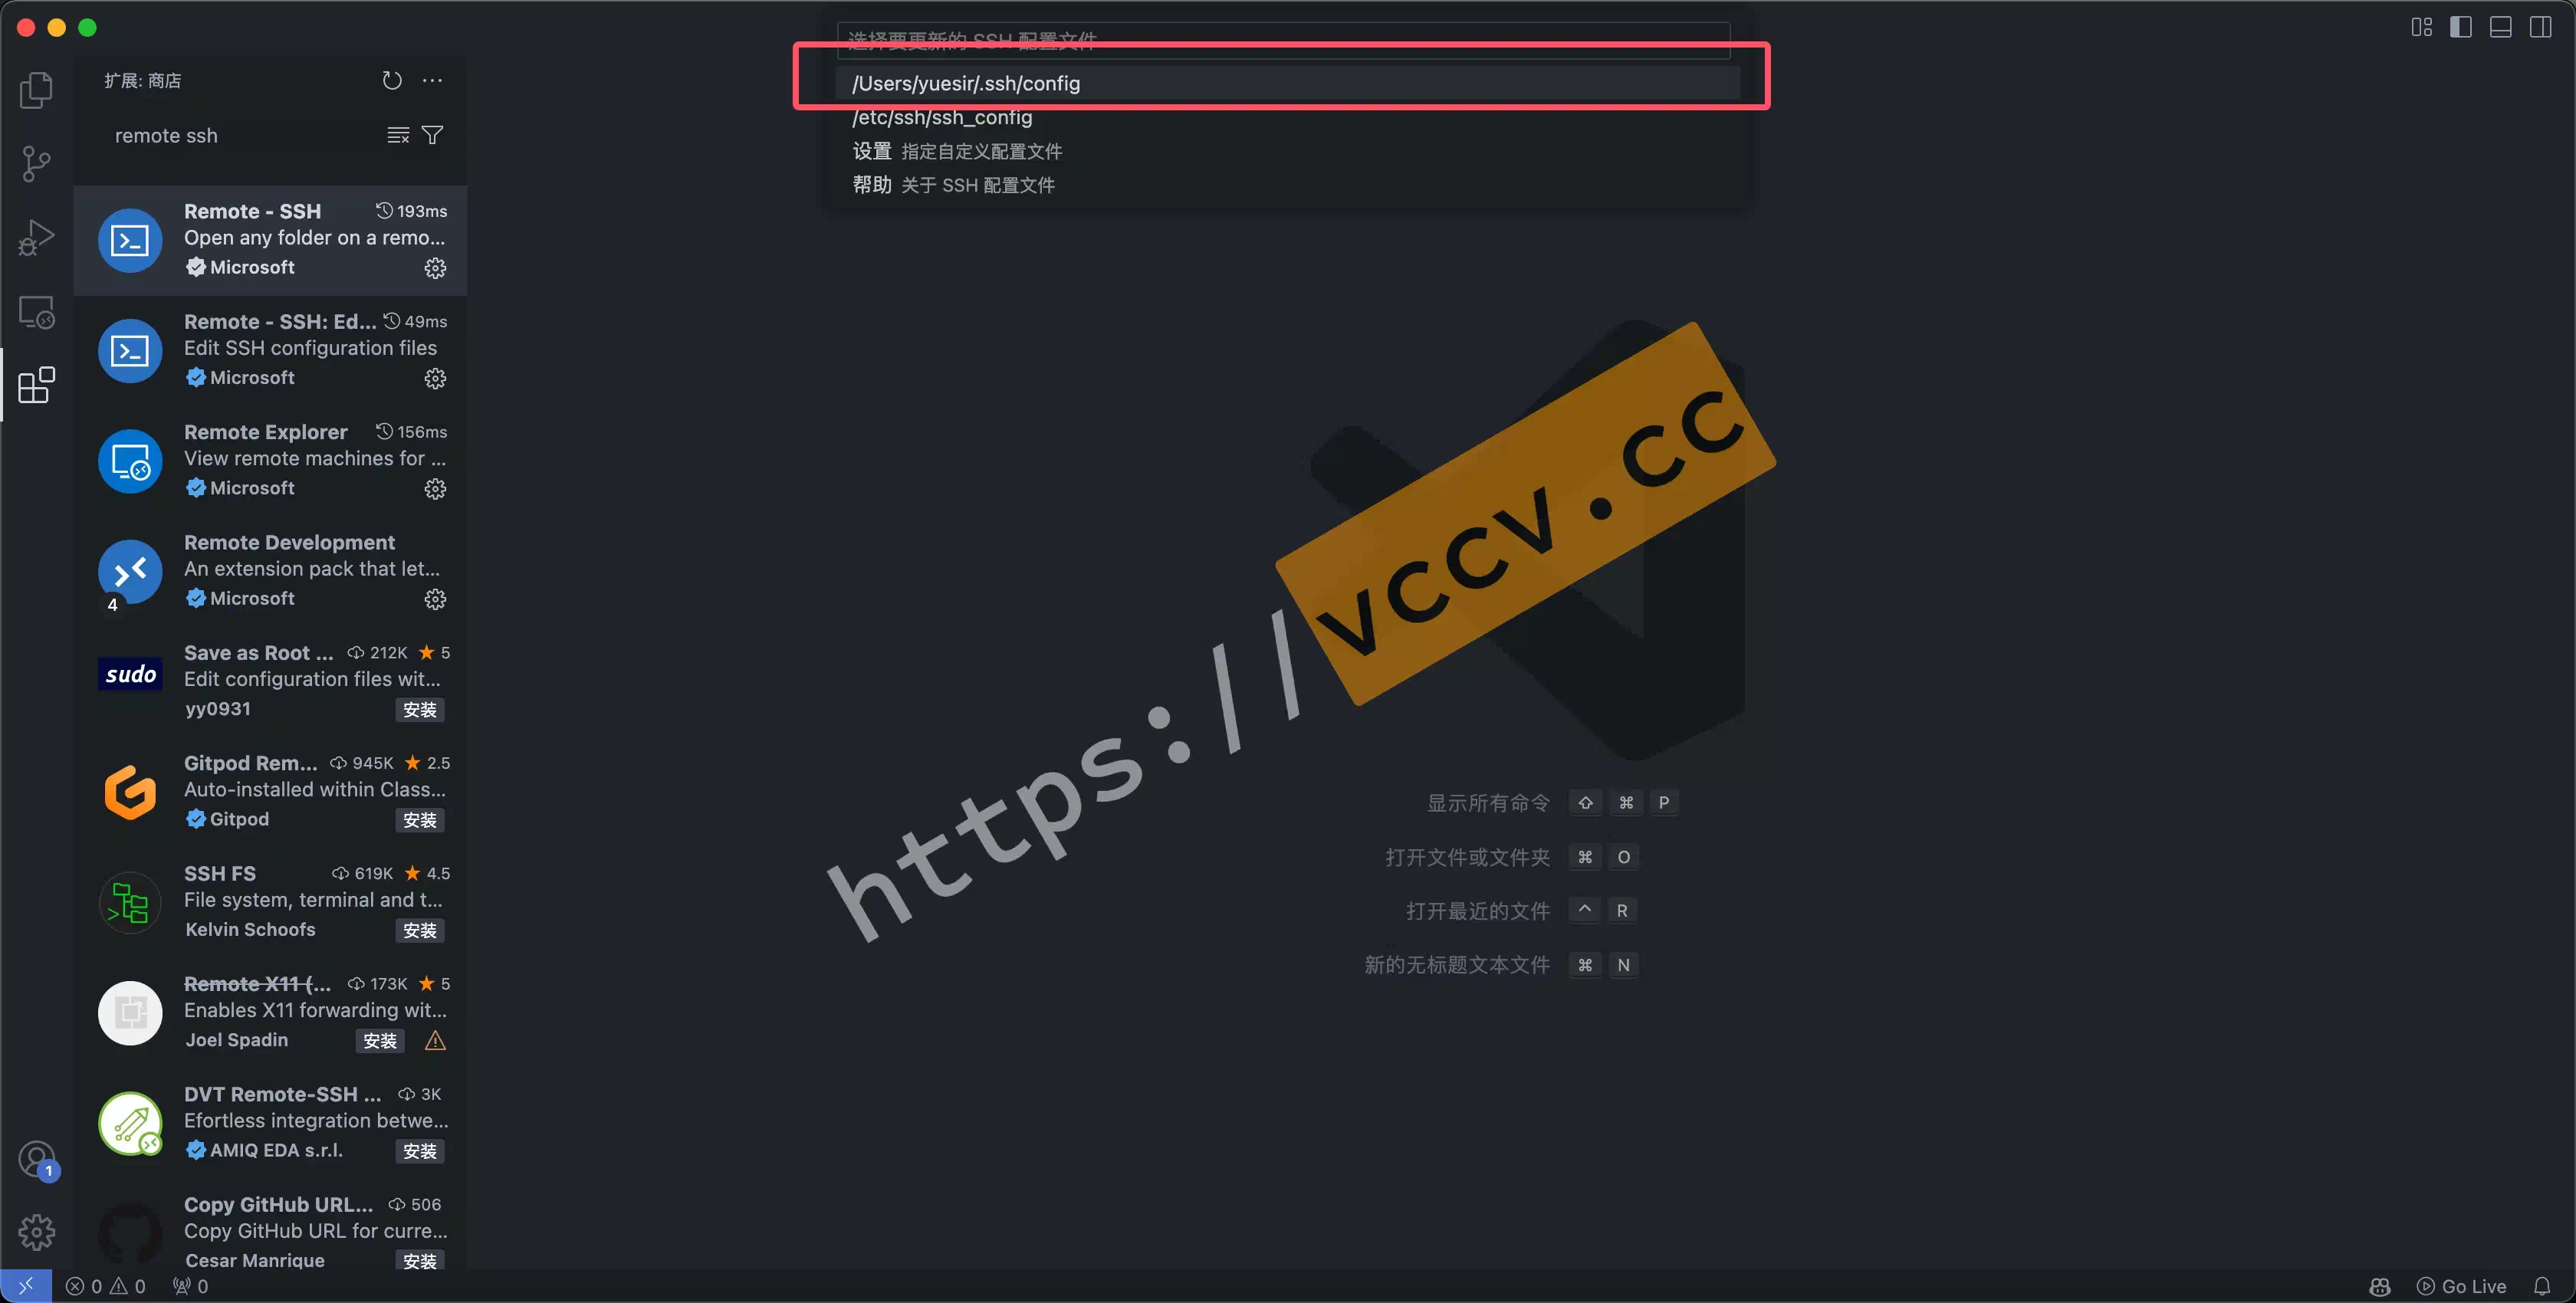
Method 2: config file
After connecting once, VS Code writes the config into your SSH config. Choose Connect to Host -> Configure SSH Hosts, usually ~/.ssh/config (e.g., /Users/yuesir/.ssh/config).
Two templates (with/without jump). Host is just a nickname; HostName is the actual host/IP.
| |
If it hangs on “Downloading VS Code Server”
This happens when the remote can’t reach the VS Code server URL (offline or blocked). Workaround: download the server locally and upload manually. References:
- Offline install VS Code Server
- Offline install VS Code Server + SSH keys
- VS Code Server download stuck
Configure SSH Key Login
Typing passwords repeatedly is painful, especially with flaky VPNs. Use key-based auth—it’s also what VS Code recommends:
We recommend using key-based authentication (otherwise you may be prompted multiple times).
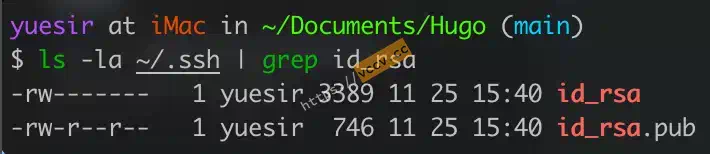
Check for existing keys on the host
| |
If you already have keys, skip creation.
Quick crypto note: RSA vs Ed25519. Summary:
Command ssh-keygen -t rsa -b 4096 ssh-keygen -t ed25519 Type RSA Ed25519 Performance Slower (still fine) Faster Security High Higher Compatibility Better with legacy systems Very old systems may not support Default to
ssh-keygen -t ed25519.
Create a key pair on the host
On Windows open cmd/PowerShell; on macOS/Linux use Terminal. Example on Windows 10:
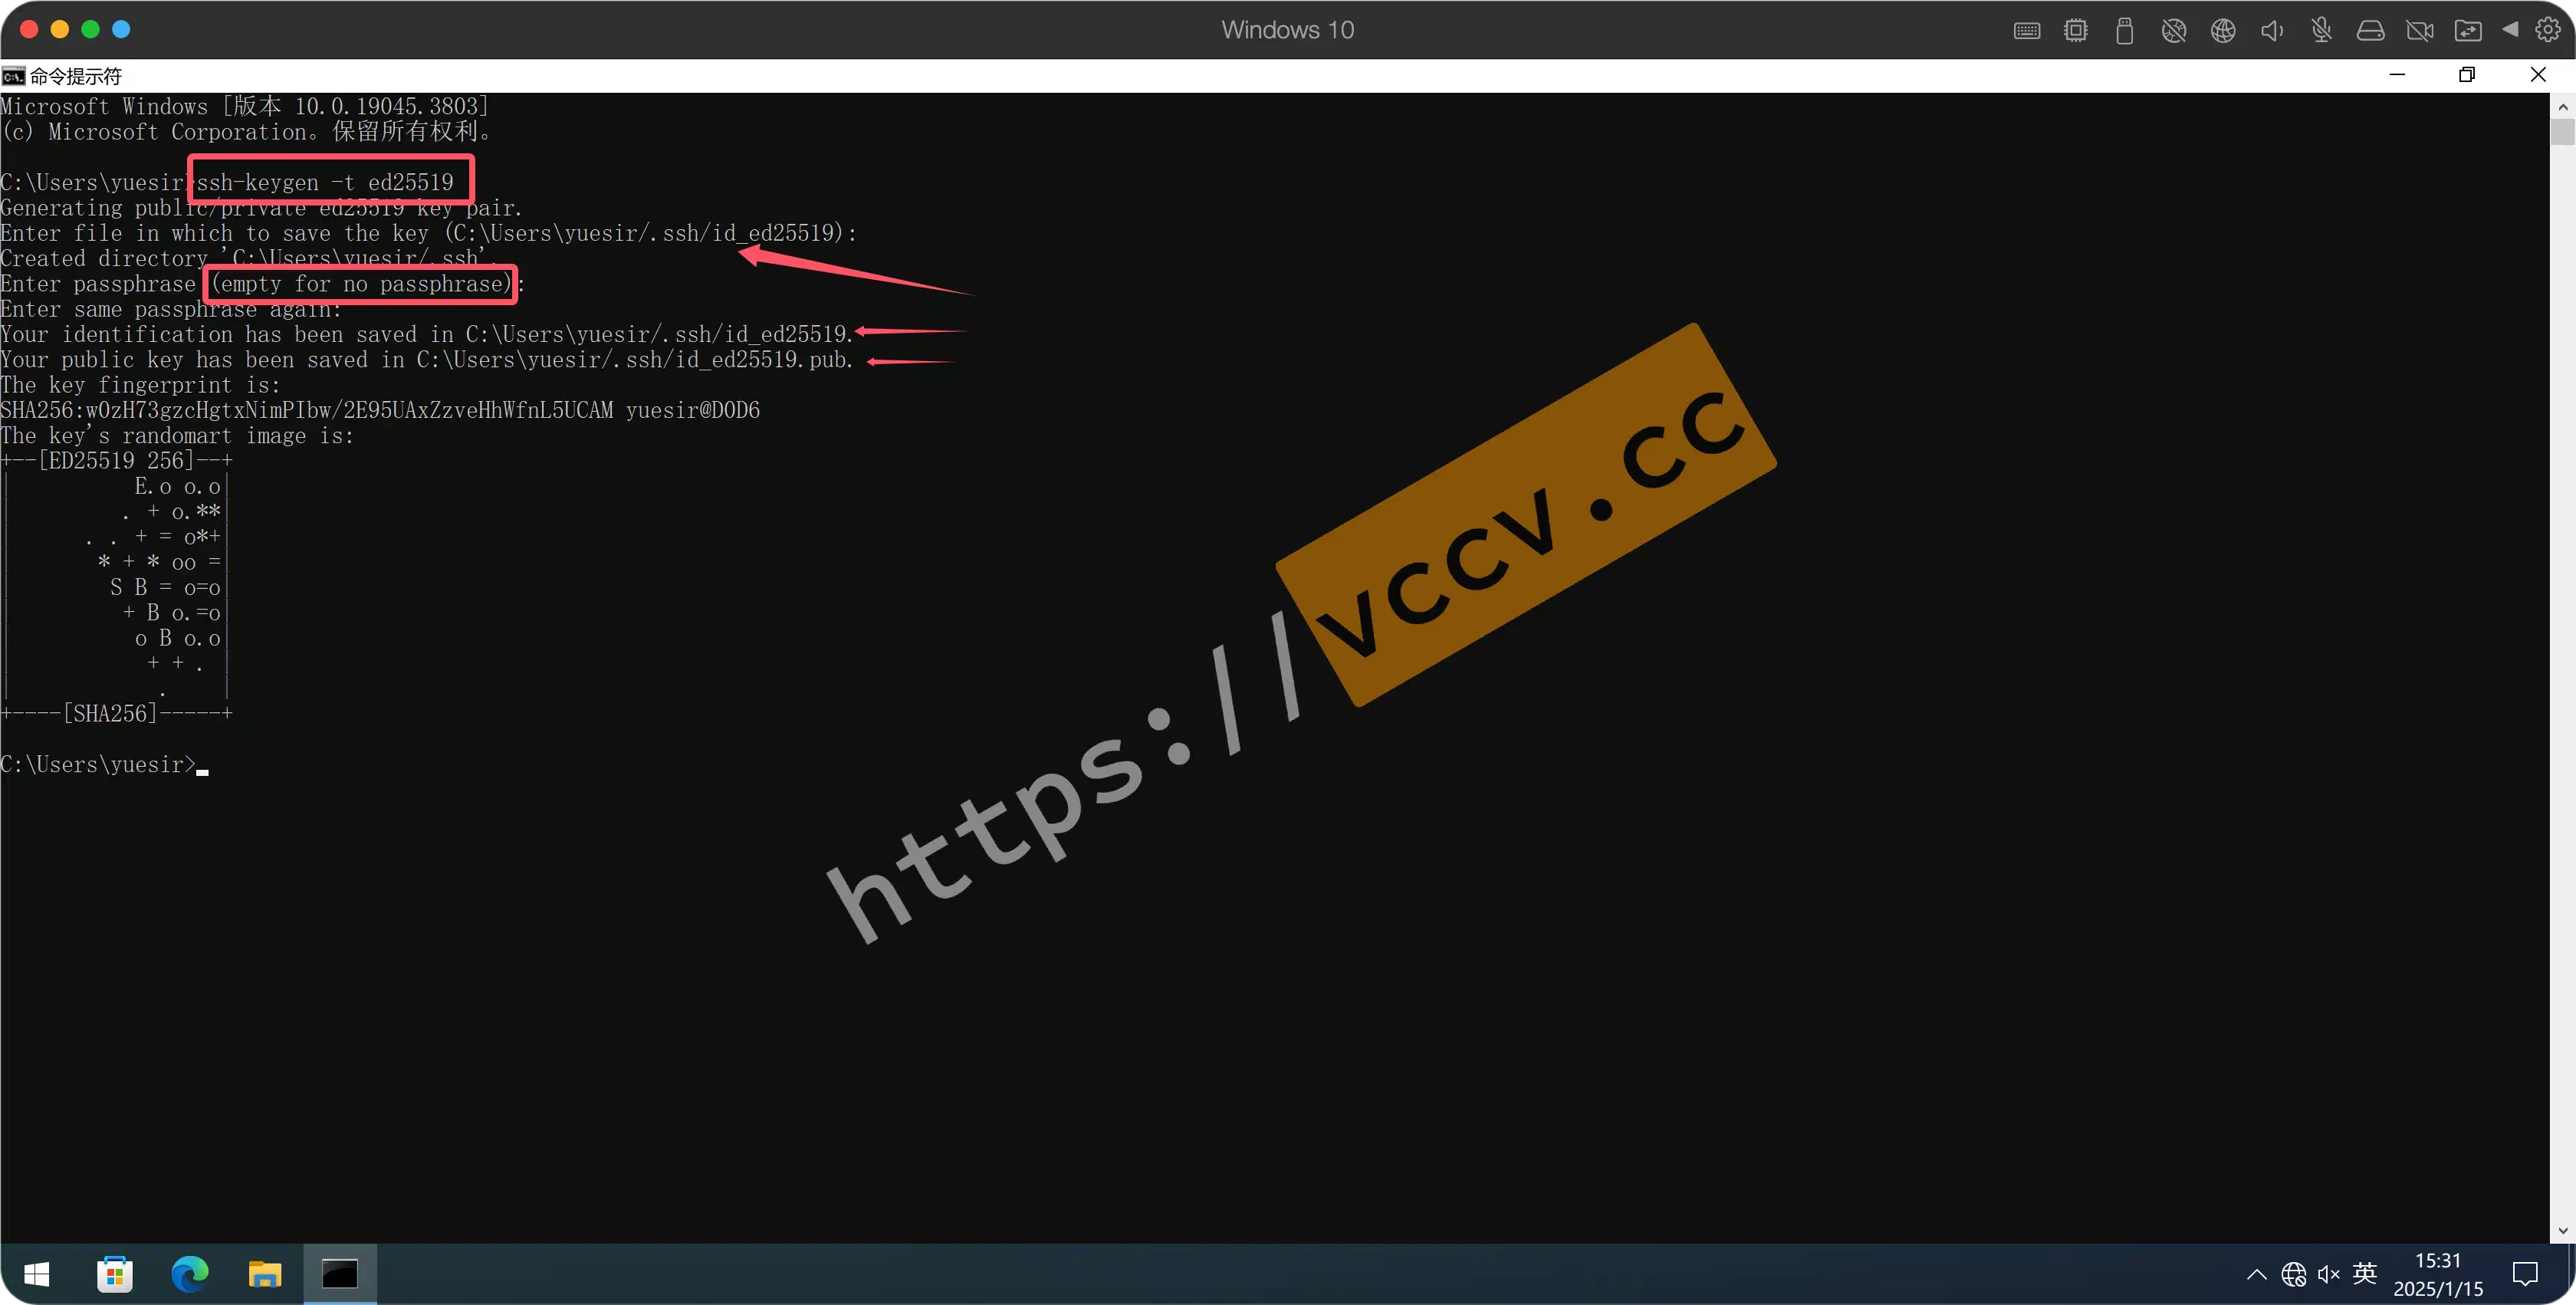
Prefer Ed25519, fall back to RSA:
| |
Press Enter to accept defaults and empty passphrase. Keys are stored in ~/.ssh (e.g., C:/Users/<user>/.ssh or /home/<user>/.ssh). You’ll see id_ed25519.pub (public) and id_ed25519 (private). Keep the private key secret.
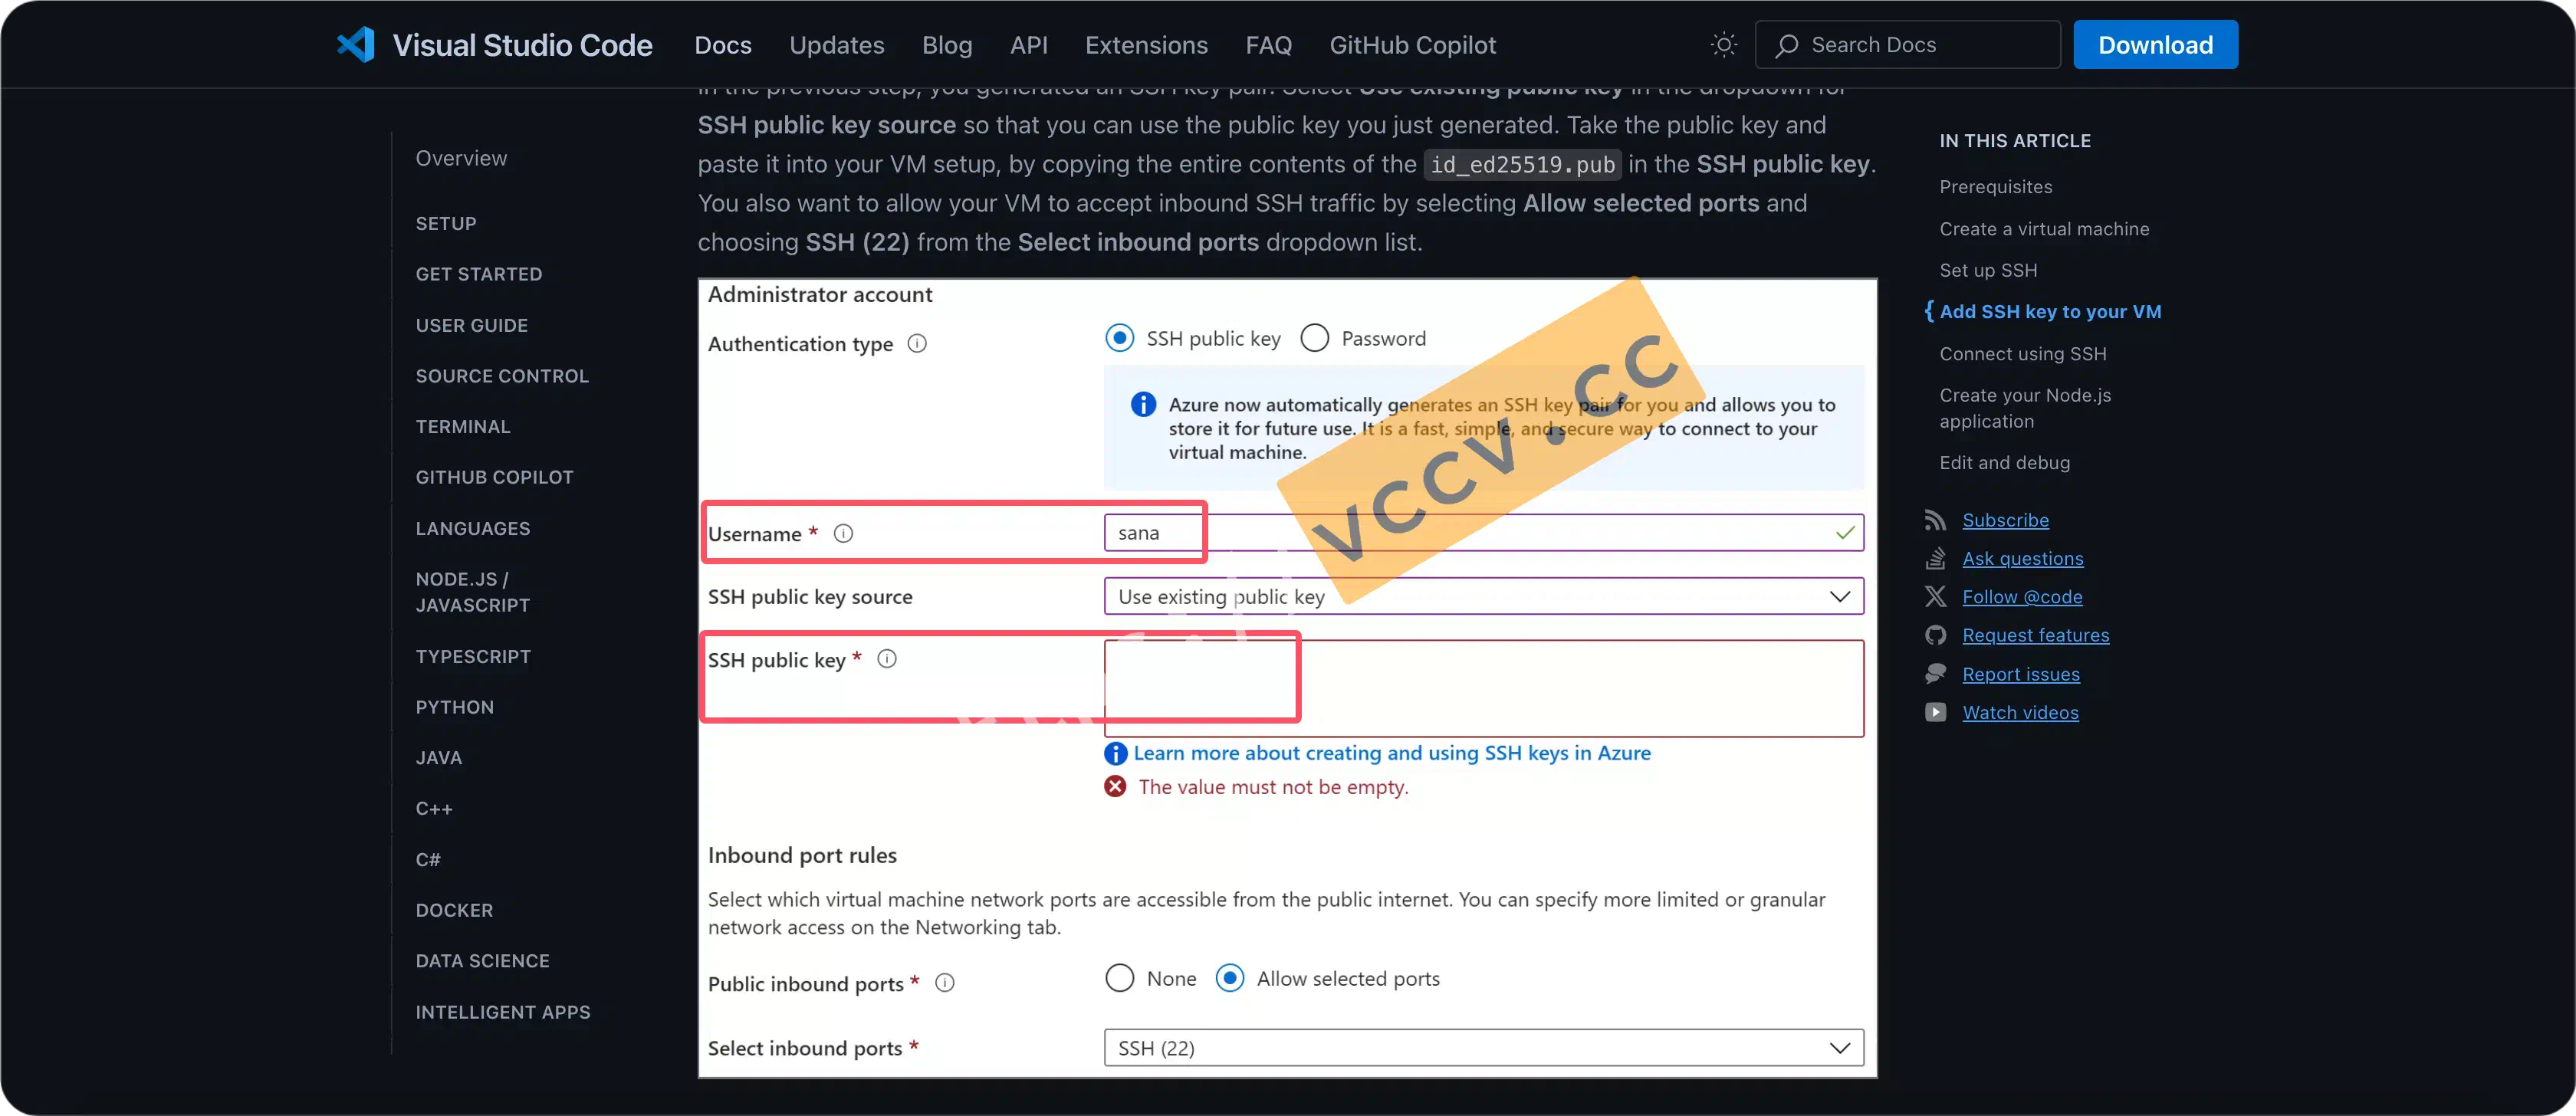
Add the public key to the remote server
Cloud providers often let you paste/upload a key when provisioning (see screenshot below).
If you just have SSH access, use the command-line or manual edit:
| |
Or manually append the .pub content to ~/.ssh/authorized_keys on the server (create the file if missing), then set permissions:
| |
Restart the SSH service if needed to apply key auth.
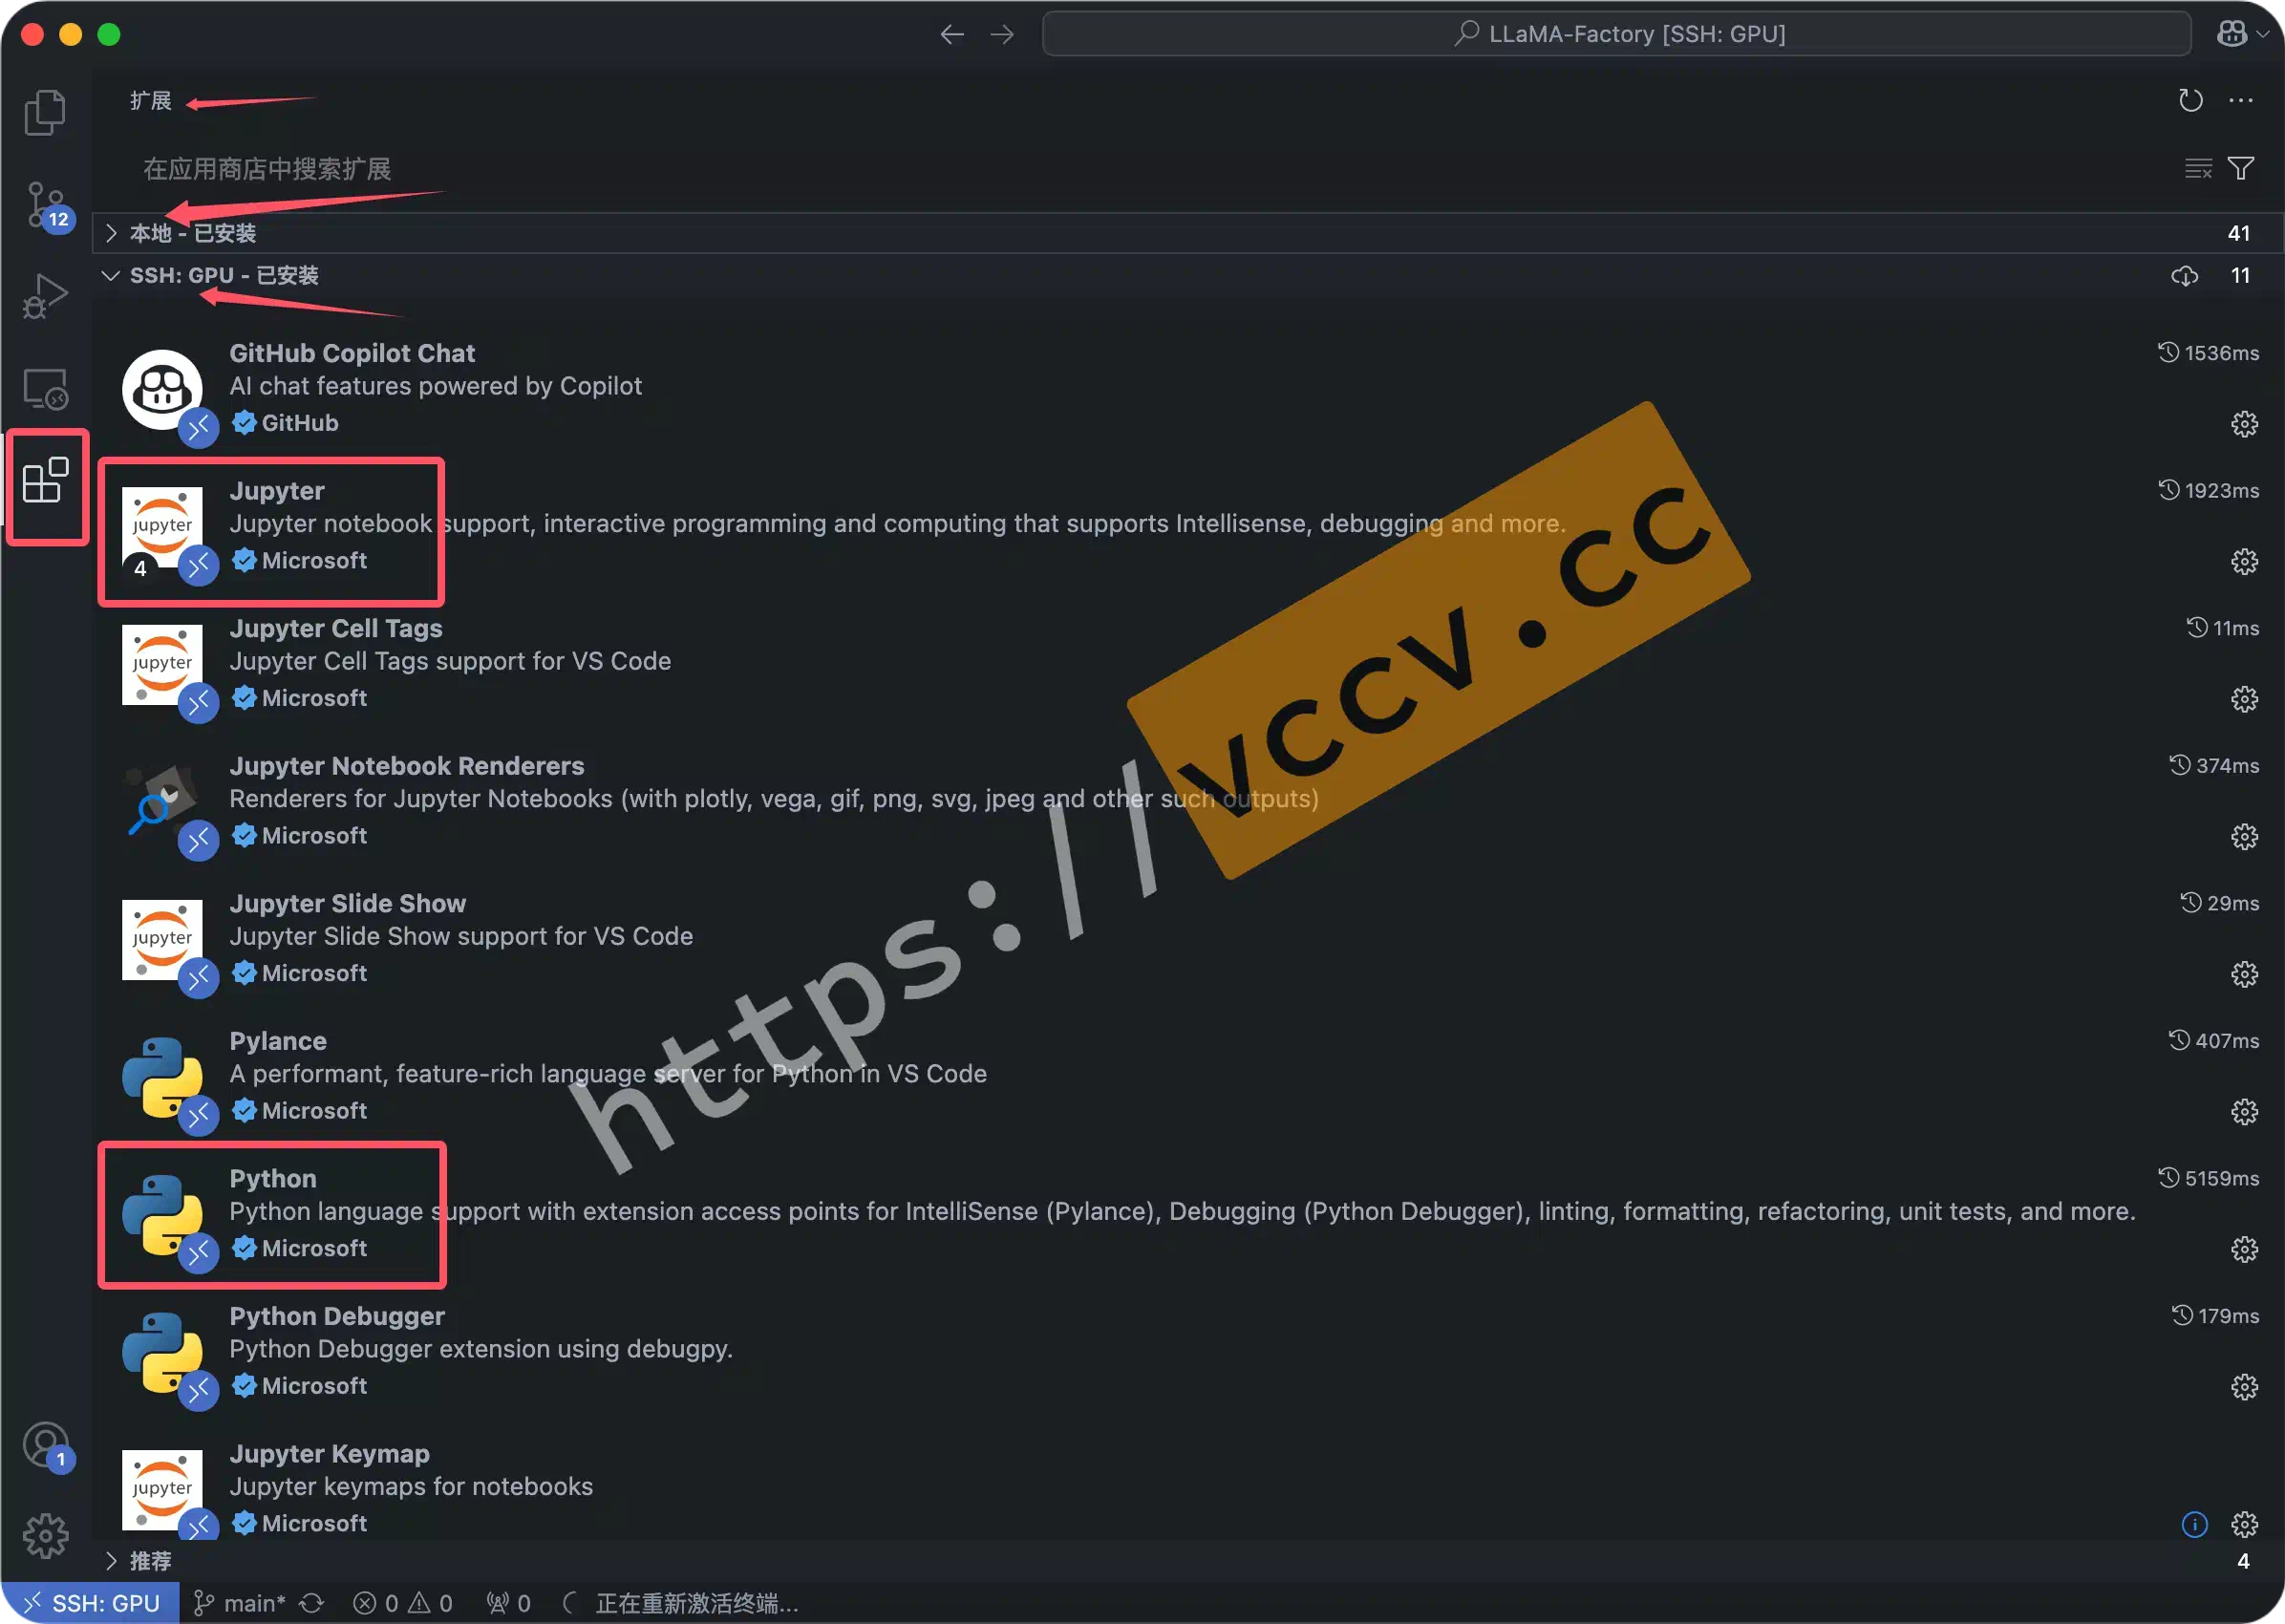
Recommended Plugins
Beyond Remote-SSH, these make Python/Notebook life easier:
ms-python.python(Python tooling, debugger, linting)ms-toolsai.jupyter(Notebook support)ms-toolsai.jupyter-renderersms-toolsai.jupyter-keymapms-toolsai.jupyter-cell-tagsms-toolsai.vscode-jupyter-powertoysms-toolsai.datawrangler(data wrangling)ms-toolsai.data-wrangler-vscodems-toolsai.data-wrangler-native-notebookms-toolsai.data-wrangler-lspms-toolsai.data-wrangler-insidersms-toolsai.data-wrangler-debugms-toolsai.data-wrangler-darwin-x64ms-toolsai.data-wrangler-darwin-arm64ms-toolsai.data-wrangler-windows-x64ms-toolsai.data-wrangler-windows-arm64
The last few are platform-specific binaries; VS Code will fetch the right one automatically.
Final Thoughts
Once SSH and keys are set, connecting is just a click. With the Python and Jupyter extensions, you get a near-local dev experience while running code on the remote server.
If you edit authorized_keys with vim, save and exit with:
| |
Close VS Code and reconnect—if it no longer prompts for a password, key auth is working. The rest focuses on language-specific setup and notebooks.
Python
Developing remotely still requires installing language plugins on the remote side. VS Code will prompt you; just ensure you install to the server, not the host.
I recommend managing environments with Conda:
For Notebook + R/Python integration, see the next section.
Notebook
I’ve written several notebook setup posts; note some target the older 6.x series (current releases are 7.x).
If you’re new to notebooks, see the install guide and official docs .
If you’d like a detailed walkthrough, drop a comment (I’ll try not to bail ~~).
R + Notebook
R isn’t limited to RStudio / RStudio Server . Paired with Notebook, visualization can be even smoother.
Python + Notebook
Some common issues are recorded here, though VS Code’s Notebook UI already solves most of them.